 Tips & Tricks to Get Better Food Photographs – A Quick Overview
Whether you’re a food blogger, a food photography enthusiast or simply a Pinterest/Instagram junkie, I’m sure that mouthwatering images of food are on your mind. I don’t know about you, but my social media feed is dominated by food photographs – some passable, some good and some amazing. I can’t help but follow them. It’s an addiction. The good kind, or so I like to think. It took me years to learn about photography – and being married to a professional photographer certainly helped me get ahead! I had AK to teach me every step of the way: read on to learn in 5 minutes what it took me years to grasp!
 Taking brilliant food photos is an art, one that I learn a little more about every single time I take a shot or style a photo. You may be surprised to know that I was incredibly wary of taking food photographs when I first started the blog. It seemed like an intimidating task and there were just way too many buttons on AK’s dSLR for me to feel confident. Fortunately, he was always available for advice and encouragement, helping me get over my fear and giving me the confidence to experiment and learn.
Over the years I’ve learnt a lot – and today I realise how important good food photographs are for a food blog. They can catch or lose a reader’s interest within seconds and I can tell you, from experience, it’s worth it to teach yourself how to better your photographs.
I’m here to tell you that there’s absolutely no need to be scared of food photography. It helps to remember that you’re a cook and blogger first, photographer later. And, anyway, you don’t have to be a professional photographer to take a good photo. It’s easy to teach yourself how – here are a few guidelines to get you going.
6 quick tips for better food photographs
Tip #1: Invest in a good quality camera
 Well, duh! This seems like a given – but it’s important to remember here that “Man with good quality camera doesn’t necessarily take good photos”. In other words, having a great camera doesn’t mean you’ll automatically take good pictures – you need to know what to do with it. I highly recommend investing in a dSLR and reading the manual – a dSLR can do so much more that point and shoot cameras can’t. It gives you much more control over the focus points, the depth of field and you can change lenses – giving you a better result.
That is not to say that you can’t get a good photograph from a point-and-shoot or a mobile phone camera. With a good looking subject and sufficient skill+practice, you can get a great food photograph from any old camera. But, if you are serious about improving your food photography and getting consistently great shots, invest in a dSLR.
To begin with, you can look at a basic, entry-level dSLR like this or this, for example. Learn more about “Which camera to buy” by reading this article.
Tip #2: Use the right lens
 When I first started out, my brain blanked out at the thought of lenses. It was just SO HARD to think technology! I forced myself to listen as AK would patiently explain concepts like focal lengths, ISO, shutter speeds and so on and not think of what I would cook next while he talked. Over time I learnt that most entry-level and semi-pro dSLRs come with a kit lens – this multi-purpose and wide focal range lens is a great starting point. (These are typically 18-55mm or a 18-135mm lens). But, as you become more comfortable with the Manual mode of your dSLR, consider investing in a prime lens, like this one or this one. These are fixed focal length lenses and do not zoom but they are brilliant nevertheless – they let in much more light and allow you to get gorgeous bokeh (that lovely, soft, out-of-focus background contrasted against a sharp, crisp subject).
If you’re feeling flush with money, get yourself a macro lens too, like this one or this one. It compresses the frame beautifully and lets you get in very close to your subject.
Tip #3: Use light to your advantage
 Many years ago, I would set my camera to “auto” and fire away. The little flash on top of the camera would pop out – and hey presto! The photo was ready! That was until AK ran into what I was doing once, and was horrified to see what I was doing. I now know that no real photographer will ever use the flash that’s built into the camera. Kill that on-camera flash – it throws direct, uncontrolled light on the subject causing it to look a little sickly (no pun intended). It will ruin the most beautifully composed shots.
Instead, try and make use of daylight, maybe shoot next to a window. If your kitchen isn’t very well lit, move your shoot space to the living or dining room, somewhere you have more access to natural light. Soft, side lighting is more flattering than straight-on harsh light. If you need to diffuse harsh light or reflect light onto dark shadows, you can use items from within your home – white bed sheets and napkins can be used to soften harsh light, white paper or thermocol are great reflectors. Insiders Tip: my favourite reflectors are those silver & gold cake base boards salvaged from bakery ordered cakes!
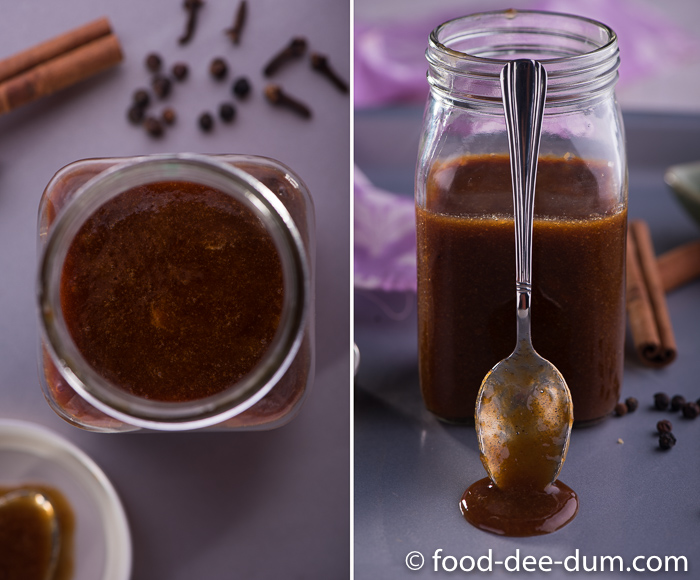
Tip #4: Find a good shoot surface(s)
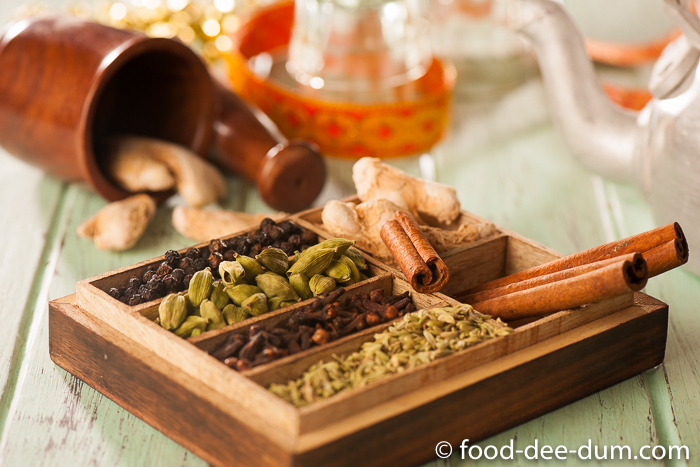
 Your kitchen counter may or may not make for a good base to display your finished dish – to ensure that your hero subject pops in the photograph, find interesting bases to place it on. These need not be expensive and, in fact, the best ones are salvaged or DIY. Use distressed wooden boards (like a discarded old table top salvaged from the junk yard), painted wood (DIY like this or find some inspiration from these), marble/granite/slate slabs, large (preferably old and distressed) aluminium baking trays or even fabric like velvet, jute and canvas. Use these as an interesting base to build your shot on – think of it as the canvas on which you can paint your masterpiece!
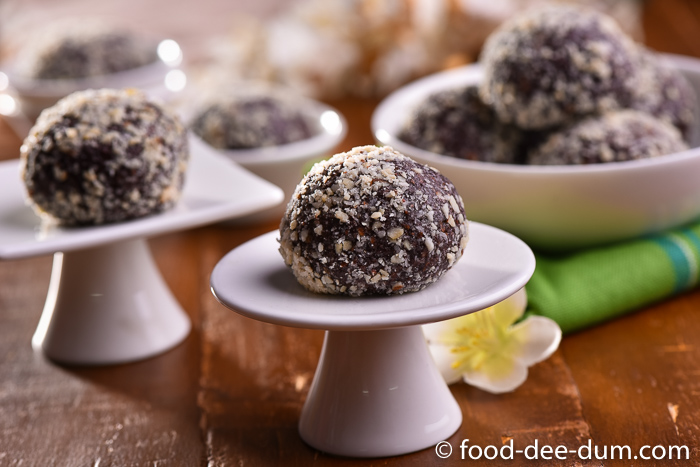
Tip #5: Angle and Composition
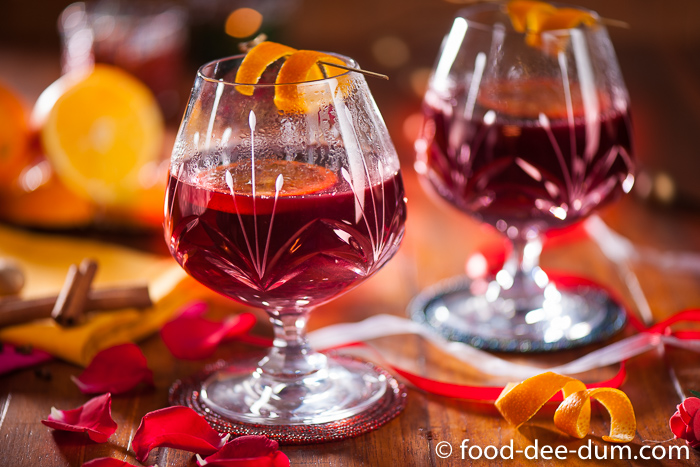
 Generally speaking, there are two most widely accepted angles for food photography. Through much trial and error, it is believed that a 45 degree (i.e. the way the eye sees food) or a direct top angle is most flattering to food. Sometimes a straight-on 90 degree (i.e. straight front) also works wonders. As much as I subscribe to these general guidelines and I suggest you do too, I wouldn’t dream of suggesting that it’s the only thing that works. Each food item and subject should be treated differently – there’s always a “best side” of every dish and some experimentation is always a good thing.
Also, give some thought to the composition of your shot. Consider whether you want your shot to have plenty of negative space or have multiple props diffusing in the background. Consider whether you want a “perfect” style or a more real, editorial style with drips and crumbs.
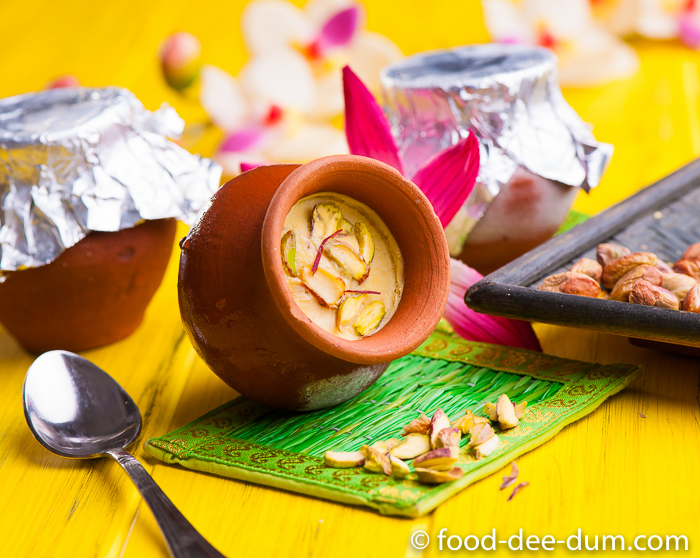
Tip #6: Styling & Props
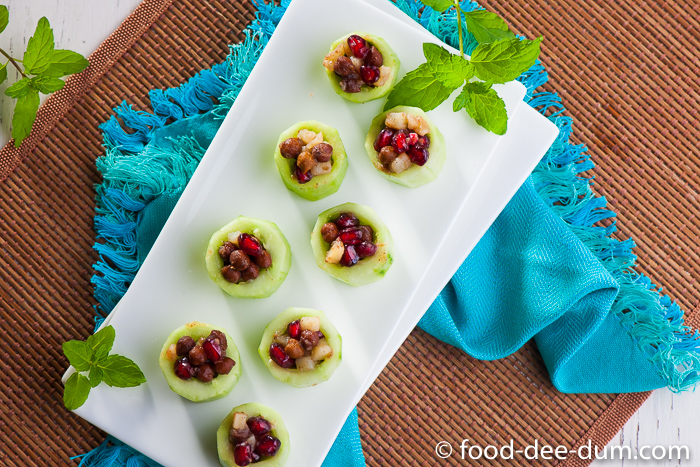
 A great shot doesn’t necessarily need elaborate styling. There are two parts to it – the look and appearance of the dish itself (i.e. plating) and the set design (what else is in the frame, apart from the dish).
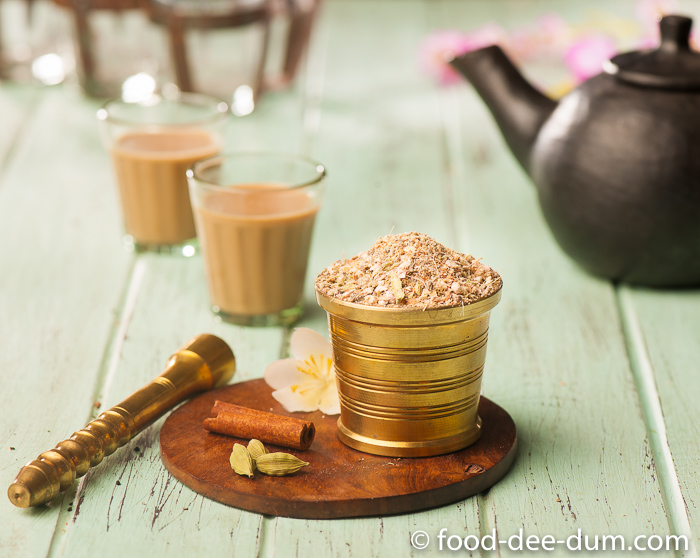
Either way, keep only one dish/item as the hero and let everything else play the supporting cast. Use complimentary props – the most logical and easily available options being crockery and silverware, mats and napkins, accompanying beverages or raw ingredients and garnishes.
Choose accompaniments based on the kind of feel you want to lend the photograph – rustic, vintage, modern, elaborate, clean or whatever else works for you. Most importantly, don’t be intimated by props – they need not be expensive or difficult to find. Rummage through your grandmothers cupboard for fabrics, tablecloths, vintage crockery/silverware, save pieces from crockery sets that break or go bad, salvage baskets and trays in which you are gifted Diwali or wedding sweets, repurpose glass jars etc. If you’re a hoarder, then you now have the perfect excuse! It’s all in the name of a great food shot.

To sum up, I’ll come back to the basics – the quality of a photograph is determined by a few factors: (1) the quality and presentation of the subject (in this case, the dish); (2) the equipment used and (3) the skill of the photographer. Let me be clear – deficiencies in the first 2 can be minimised by the skill of the photographer but not vice versa. So if you want to get great food shots, you have to prioritise learning and practice. Use online tutorials, study the work of experienced photographers and stylists and practice, practice, practice.
And don’t forget to learn a little more with every shot you take!
If you have something to add to these pointers, do leave me your comments below and don’t forget to share the post.
Please note that this post has affiliate links and if you buy products using these links, it will help support the blog. I will only recommend products that I personally use and/or trust for my family.