Easiest Way to Make Dulce De Leche (Caramelised, Sweetened Milk) at Home
Would you think I’m odd if I told you that every single time I have to say Dulce de Leche out loud, I spend a quick second saying “dool-seh-deh-Leh-shay” in my head first? Just to make sure I don’t stumble and get tongue twisted over it. Please tell me I’m not the only one. If I am, I guess I have no choice but to make my peace with it.
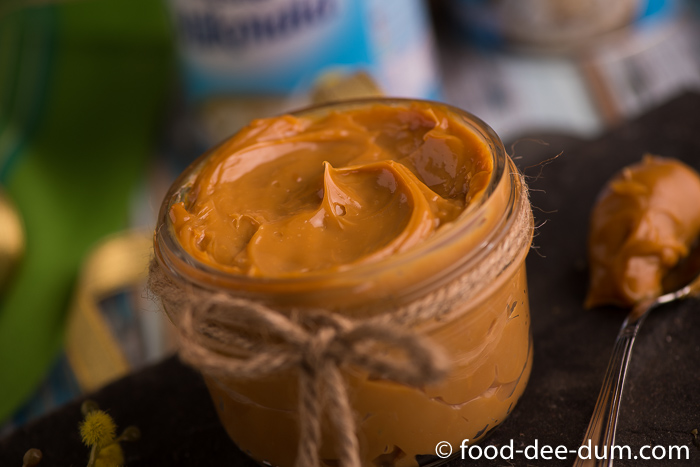
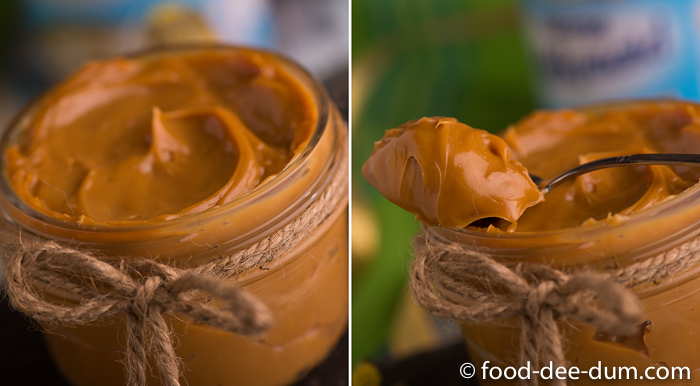
Pronunciation aside, for all those who haven’t tried DDL yet, it is a thickened, sweetened, caramelised milk spread/sauce. It’s creamy, it’s silky and it’s irresistible. It tastes brilliant straight out of the can as well as poured over ice-cream, drizzled over cake, spread between 2 cookies, as toffee/fudge-y squares with nuts and so much more.
Traditionally, this is made by simmering milk and sugar together until it is caramelised and thickened to give you a delicious, silky sauce. This, apparently, takes 7-8 hours at the very least. Sounds painful, right? But don’t worry. Sweetened, condensed milk cans to the rescue.
On an aside, do any of you have childhood memories of eating condensed milk straight out of the can? When we were younger, my parents would always have a cup of coffee before they went to bed. Weird, right? But it never seemed to keep them awake or cause sleeping problems. It was just a ritual. The coffee they drank at that time was mainly an instant brew with a spoon of condensed milk each. It was fragrant and delicious. Not that my brother and I were interested in it. All we cared about was the condensed milk. My mom bought a new can every week and emptied it out into a container to store in the fridge. Adit and I would fight over who gets to lick the emptied can clean. And, of course, digging into that fridge container a few times every day. Now imagine that can of sweetened condensed milk turning into a thicker, richer, creamier and caramelised milk candy. DDL is, literally, the best version of condensed milk. If Adit & I lived in the same country, I can’t even imagine the fight we would have over it.
Coming back to how it’s made, there are many methods out there. Some, I’ve tried. Others, I’ve only read about. But essentially, it boils down (pun intended) to the same thing. Reducing and cooking the condensed milk slowly, over low flame for a period of time until it caramelises. If you’re scientifically inclined, you can look up the Maillard reaction which is what gives DDL its signature colour and flavour. The different methods that I spoke about use different permutations and combinations of cooking vessels, using a water bath or not, cooking the condensed milk in the sealed can or pouring it out into another vessel etc. I’ve detailed them below, at the end of the post. You can jump forward and see them here.

The method that suits me the most is one which strikes a great balance between result and convenience. I like to cook the sealed cans in a pressure cooker so that it reduces the amount of stove-top time. By not using a pressure cooker, you can easily expect a stove-top cook time of anywhere between 2-4 hours, depending on how mild+runny or deeply caramelised + thick you like it. Whereas with the pressure cooker, you can bring it down to a maximum of 1 hour.
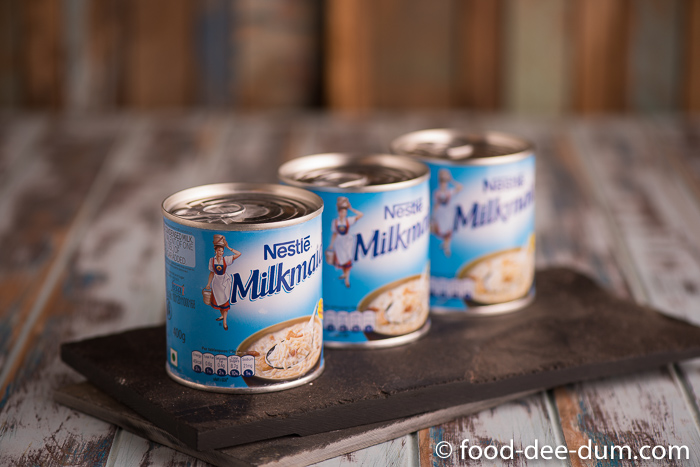
Usually, I make 3 cans at once. Because I can. Seriously, because my pressure cooker can fit them and it stores extremely well. A sealed can will last as long as the expiry stated on the can for the condensed milk and, once opened, it will last easily for a month in an airtight container in the fridge. Isn’t that amazing? You can almost always have a can, ready-to-use. Just pop it open and you have an instant dessert topping. So much better than a store bought jar of caramel or chocolate sauce. I won’t say store-bought DDL, because it isn’t available in India yet. At least, to my knowledge.
Last bit of info before we get into the recipe – I usually cook it enough for a super thick, fudge-y texture. It is spreadable, but not pourable. The best part about it is the deep, deep caramelisation. But, for the purpose of this post, I have taken inspiration from The Pioneer Woman and decided to make 3 cans with different levels of caramelisation. I’ll document them here and you can decide for yourself which one you like the best.
All you need for a can of DDL, is a 400 can of sweetened, condensed milk. Or 2. Or 3. Or as many as your pressure cooker will fit in 1 layer at once. But don’t create tiers or layers – that might exceed the capacity of the cooker and the cans might be too tight. Like I said, I usually make 3 at one go in my 5 litre cooker.
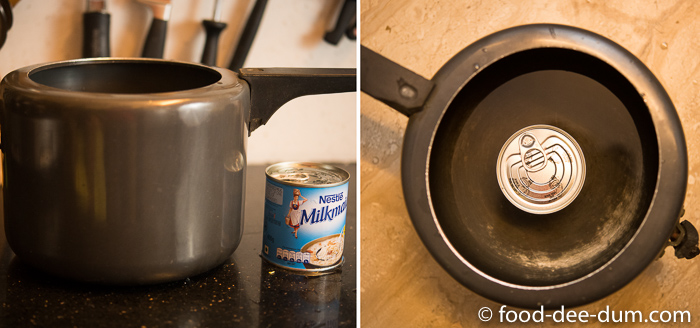
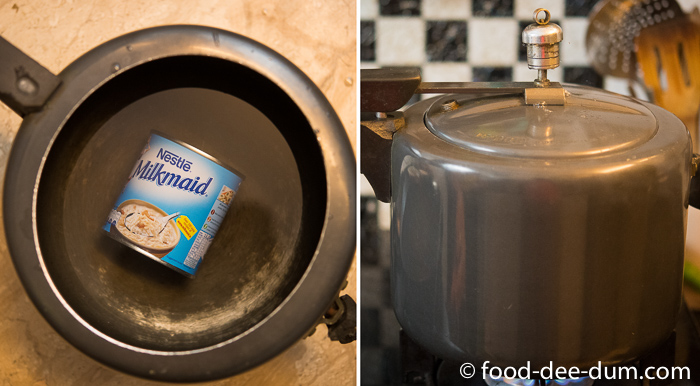
Check the can for nicks and cuts or damage. If it is a damaged can then I wouldn’t recommend it going inside a pressure cooker. If the brand of condensed milk you’re using has a removable paper wrapper, remove it. If not, then go on ahead and place it in the cooker. You can place it straight up, like in the picture above, or on it’s side (which is the way that I prefer. On it’s side, it can roll about if it likes and have a bit of a party in the cooker.
Fill the cooker with enough water so that it lies 1.5″ – 2″ above the can. Close the lid along with the pressure whistle and place on high heat until the cooker lets out the first whistle, about 20 minutes.
Reduce the heat to minimum and let it simmer until done, approx 35 minutes. Now here, I’m taking the average of the various timings I tried. The 35 mins simmer is my favourite, the sweet spot for me. But I’ll show you what the difference is in a minute.
But before I do, take a wild guess at which one is which.
And pay attention to this, it is **very important** Don’t mess with a pressure cooker or with the hot can(s). Once you turn off the flame, let the cooker remain sealed and cool down in it’s own sweet time. Using a pair of tongs, carefully lift out the can(s) and place them on the counter to cool completely. This could take over an hour or two. Be very careful as the can remains hot for a long time, even after being removed from the hot water. The can should not, absolutely not, be opened while still hot. The inside could be pressurised and fly out of the can, creating a hot mess and cause burns.
Now, for the revelation…
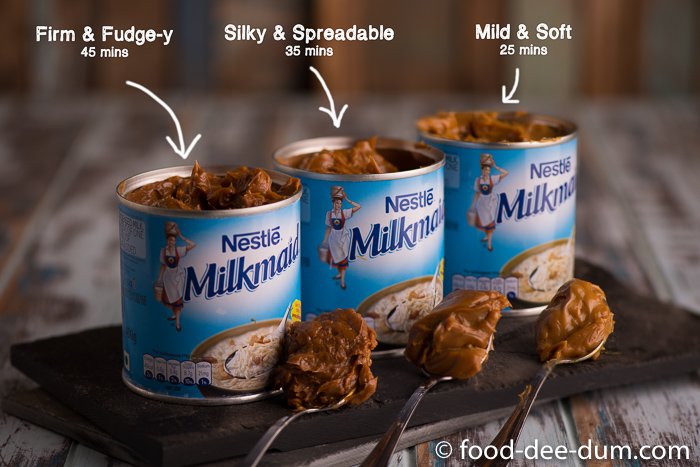
Before this experiment, I always did the 45 min simmer. But I’ve discovered that 35 mins is my favourite. It is beautifully caramelised and is still spreadable, as a frosting, as the toffee layer in bannoffee pie, as a ripple in home made ice-cream, as a cookie sandwich spread, pancake/waffle topping or anything else your heart desires from a can of DDL!
The 45 min version has an even deeper caramelisation but it is more suited to making fudge-y bars or squares. It sets beautifully. If you want more of a “pour” then go for the 25 mins simmer but, I should warn you, the caramelisation is quite mild in this version.
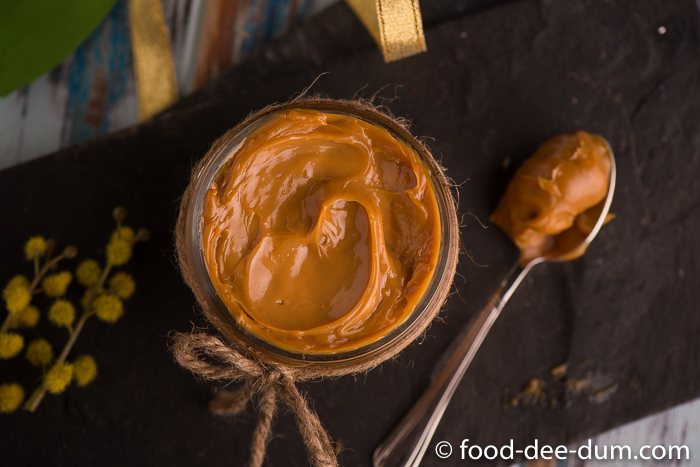
I’m usually quite lazy about this next step, but taking the DDL out of the can and giving it a good whisk improves its smoothness and spread-ability. You can transfer it into a jar and store in the fridge for up to a month. Or just don’t open the can and let it sit for weeks/ months. Although, why you would want to do that is beyond me! Specially if you made only one can. Ha!
Liked this recipe? Use the Dulce de Leche in many different ways:
Add a swirl in these brownies and cut out the other toppings for delicious Dulce de Leche Brownies
Spread some on these Banana Bran Muffins or Espresso and Chocolate Chunk Muffins and convert breakfast food into instant dessert
Spread some on a pie base or biscuit crumb base and top with bananas and whipped cream for a delicious Bannoffee Pie
Throw in a spoonful into this milkshake and kick it up a notch
Mix in some nuts and make Walnut Toffee
Same time, last year:
One Year Ago: Chilled Cucumber & Spinach Soup
Two Years Ago: Ruggedly Loaded Brownies
Three Years Ago: Chocolate Salami
Four Years Ago: Raw Mango & Chilli Chutney
[wpanchor id=”methods”]Note on the other methods of making DDL (Or jump straight to the recipe):
The essential concept remains the same – the condensed milk has to be slow cooked, either in the can or poured out into another vessel. When pouring into another vessel, then it is generally advisable to use a double boiler or a roasting pan with water to ensure a better, smoother result. You can make it in a pressure cooker (like me), a large heavy bottomed pan, a slow cooker, a double boiler, the oven or your microwave. I have tried the oven and double boiler methods with reasonable results. The others have been found online, so I’m sharing them here for your reference with the relevant links.
Heavy Bottomed Saucepan
(See detailed instructions here on The Pioneer Woman)
This is the closest to the pressure cooker method. Place the can(s) in a large, heavy bottomed saucepan and fill with enough water so that it is 2″ above the cans. Bring to a boil and then reduce the heat to a simmer. Cover and simmer for about 2-1/2 to 3-1/2 hours depending on how much caramelisation you want. Keep an eye on the water and if it looks like it’s reducing, top it up as required. The water level must always be at least 1″ above the can.
Oven
Preheat oven to 220 C. Pour out the can of condensed milk into a glass baking dish and seal well with foil. Place this in another glass baking dish or metal roasting pan. Once the oven is hot, pour boiling water into the roasting pan to make a water bath. There should be enough water to come halfway up the sides of the condensed milk bowl. Bake this for about 2 to 2-1/2 hours or until done. Keep an eye on the water level and top up if it goes below 1/3 the height of the main bowl. Remove everything from the oven, allow it to cool completely before removing the foil.
Double Boiler
I usually use my milk cooker, which is a kind of double boiler – I fill water into the outer cavity so that the milk doesn’t stick or burn in the main chamber. But you can fashion one by filling water in a saucepan and placing a heatproof bowl over it. Pour the condensed milk into the bowl or the main chamber of your double boiler, cover with aluminium foil and simmer for about 3 hours or until done, stirring every 20-30 minutes.
Slow Cooker or Crockpot
This involves placing the can(s) in a slow cooker or crockpot for 8-10 hours, with enough water to cover them as above. You can check detailed instructions here on Taylor Takes a Taste or Spicy Southern Kitchen.
Microwave
I found this one on WikiHow – haven’t tried it yet but I’m tempted. It’s seems to be the fastest method, all done in under 25 minutes. It involves pouring the condensed milk into a microwave safe bowl and blitzing it in the microwave on medium power (say 500-600 watts) for 15-25 minutes, stopping every 2 minutes to whisk it with a wire/silicon whisk. You can stop cooking it whenever you feel you’ve achieved the colour you like.
There’s a description of 7 other ways to make DDL on the same WikiHow link but I’m not a fan of those – the timing is not what works for me and there are some other tips that don’t either, according to my judgement and experience of having made DDL quite a few times. Hence, I only recommend trying the microwave method from there.
[wpanchor id=”recipe”]Easy Dulce de Leche Recipe
- 1 x 400 gm can sweetened condensed milk
Equipment Used:- Pressure Cooker
- Kitchen Tongs
- Wipe the can clean and remove the paper label, if any.
- Place the can, on its side, in the pressure cooker. Cover with enough water so that it is about 1.5" above the can.
- Close the pressure cooker, along with the pressure whistle, and set it on the stove on high heat.
- Once the first whistle goes off, reduce the heat to minimum and simmer for 35 mins.
- Turn off the heat and let the pressure cooker cool down in its own time.
- Open the cooker and carefully lift out the can using a pair of kitchen tongs or oven mitts. Allow the can to cool completely before opening.
- Open the can, take out the contents and whisk until smooth. Transfer into an airtight jar and store in the fridge for up to a month.
Please note that this post has affiliate links and if you buy products using these links, it will help support the blog. I will only recommend products that I personally use and/or trust for my family.