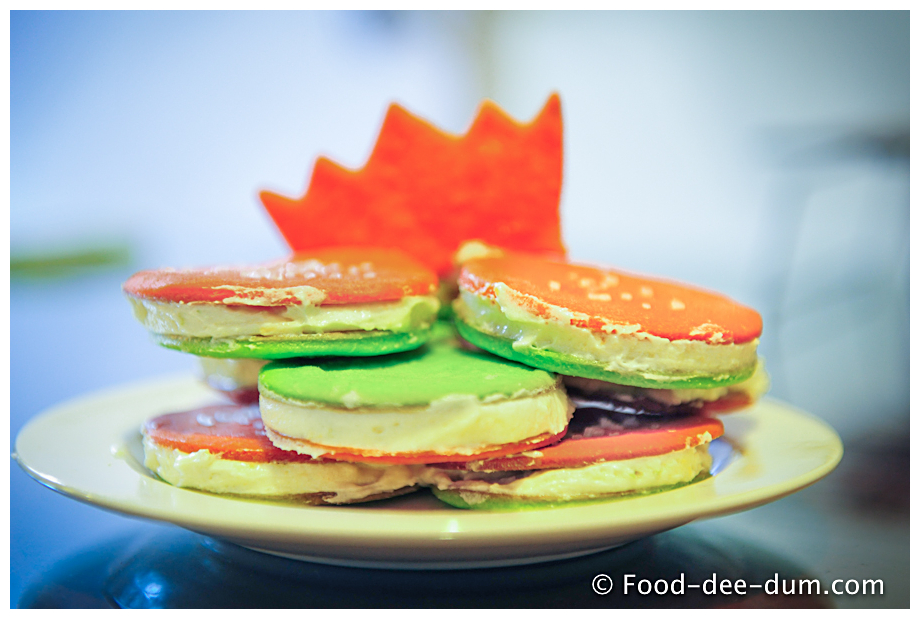
I had a pretty long internal debate about whether I should do something as cliched as making tri-colour food for Independence Day. I’ll leave the details of it out, but I gave in for 2 reasons:
- I wanted a fun picture for myself, for the blog and for FB. I haven’t put up any themed food before now.
- I just wanted an excuse to make some cookies. It had been such a long while.
I had to rule out AK’s obvious choice of anything chocolate because that definitely didn’t fit the (colour) scheme of things! Pun intended. So I dug out a recipe I had tucked away from one of the Martha Stewart Mags – for Lemon Sandwich Cookies – and modified it to suit my theme.
These cookies were very different from the moist and/or chewy variety I had made so far. I can’t figure out why I didn’t make these before – their lovely thin and crunchy texture is only surpassed by the incredible simplicity, the not-too-sweet quality of the cookie itself is balanced by the kiss of sugar on top and the endless filling possibilities. I think that makes these my new go-to cookies.
Here’s what I used, for 24 cookie sandwiches:
1/2 cup butter
1/2 cup powdered sugar
1 tbsp lemon rind
1 cup flour
Pinch of salt
1 tbsp granulated sugar (to sprinkle)
Liquid Food Colour in Green & Orange (Red + Yellow)
For the filling:
(The original recipe used a cream cheese filling but AK turned up his nose a little and said he wanted a good-ol’-sweet-and-rich filling, so I went for a citrus buttercream)
1/2 cup butter
1/2 cup powdered sugar
1 tbsp lemon rind
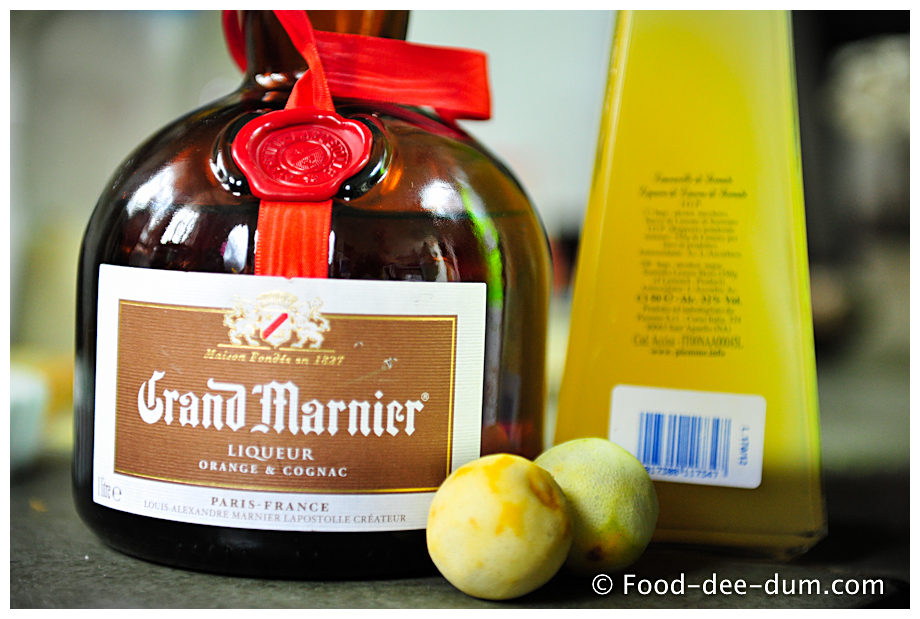
1 tbsp limoncello
1 tbsp grand marnier
(you can use some lemon & orange juice if you don’t have the liqueurs)
Here’s how I made them:
Firstly, I zested the lemons.
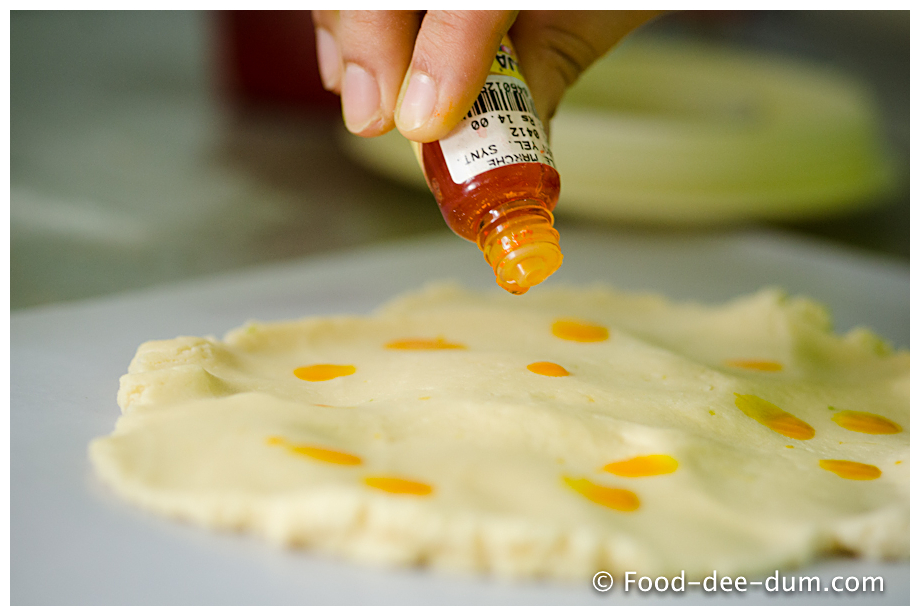
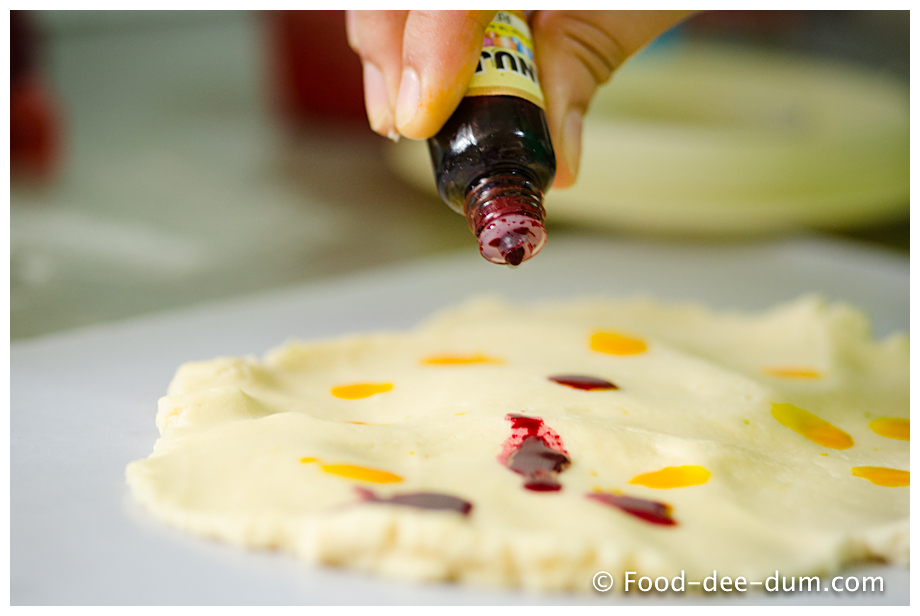
While I got it out of the way, AK shot the food colour! Since I didn’t have orange colour at home (not that it isn’t available), I mixed red + yellow to create orange.
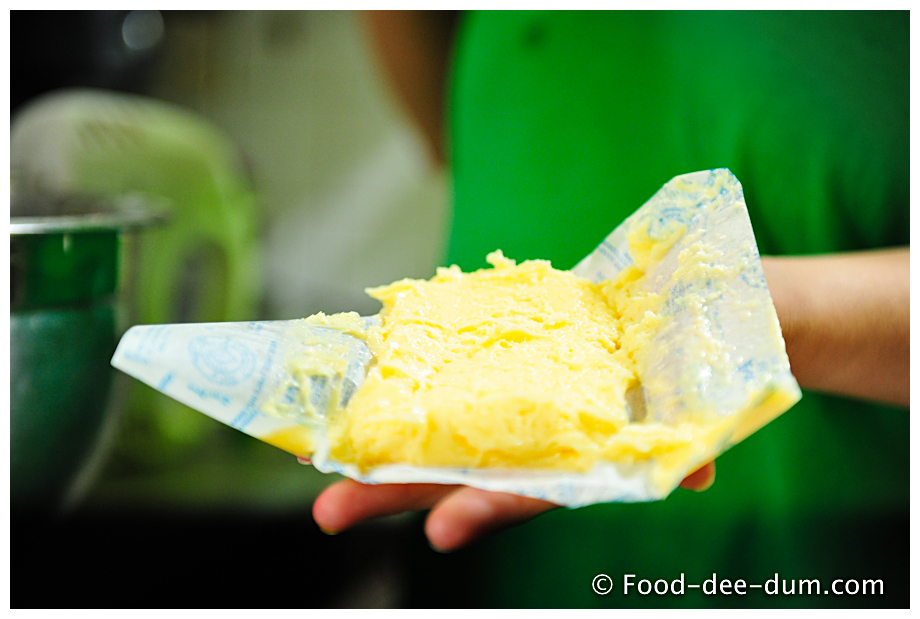
Then I placed the butter and sugar in a mixing bowl.
And the zest.
Using the hand beater, I beat the mix on high speed until pale and fluffy, about 3-4 minutes.
First it will look crumbly, and then slowly come together till it hits the pale & fluffy mark. Ignore the green cast in the pic above. My t-shirt is to blame.
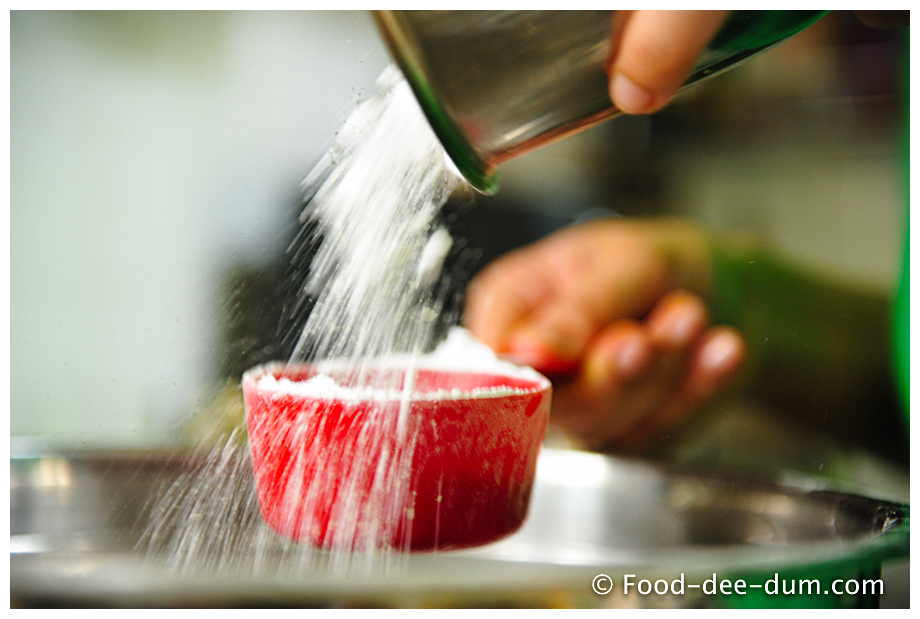
Then I measured out the flour and salt and added them to the bowl.
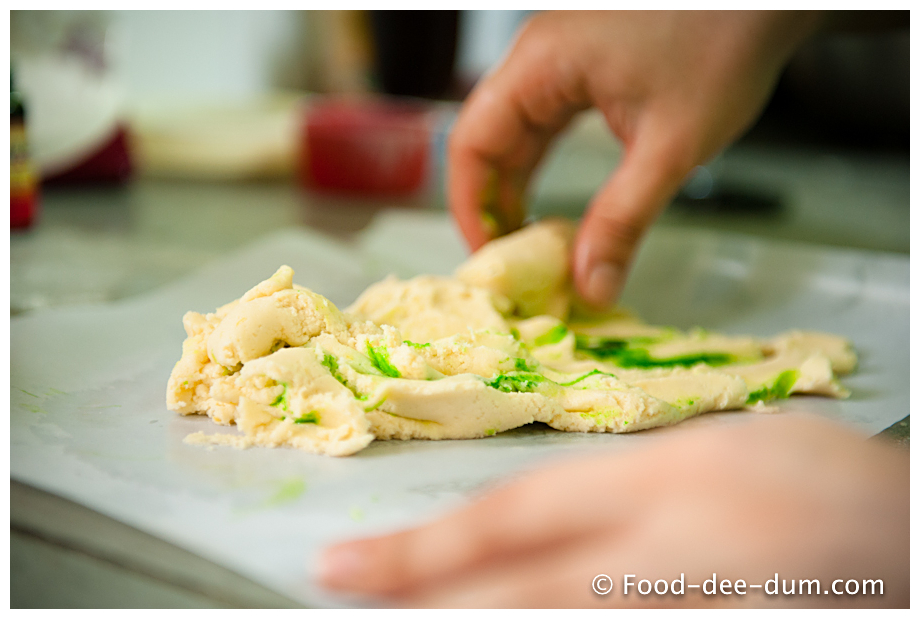
I mixed this in with a wooden spoon to incorporate the flour well. I felt that it wasn’t coming together too well and was still too crumbly, so I added a dash of milk and then used my hands to knead it into a stiff dough.
I plonked the dough on my well floured counter and kneaded it for another minute or so.
I divided the dough into 2 equal-ish parts (well as equal as I could manage without using the weighing machine!)
On a piece of butter paper (because I didn’t want to scrub the colour off the counter) , I flattened out 1 of the mounds.
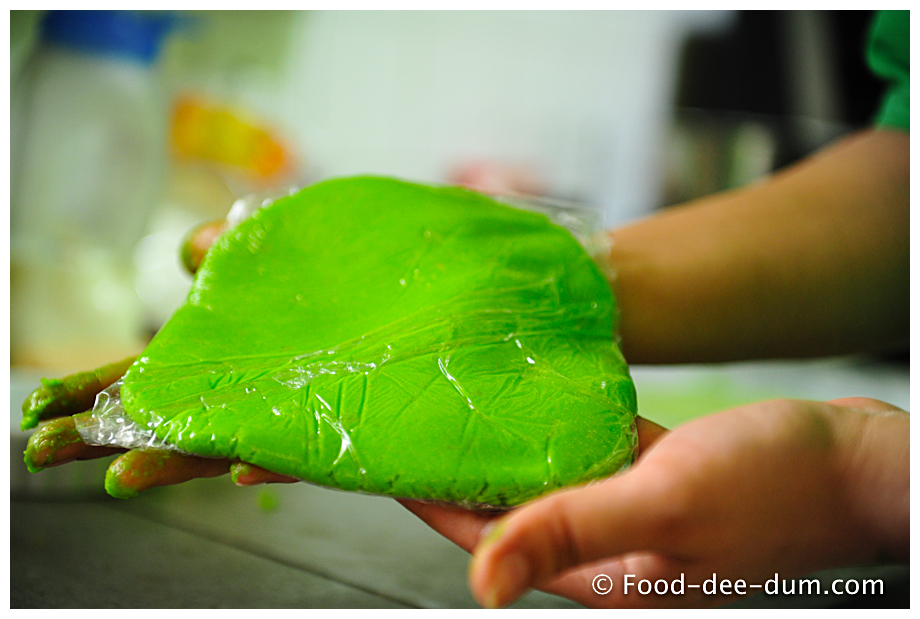
And then began the fun with colours. I began with green – added a few drops and kneaded, then added some more and kneaded some more till I got the colour I wanted.
Then I wrapped it up in some clingfilm and placed it in the fridge for about an hour.
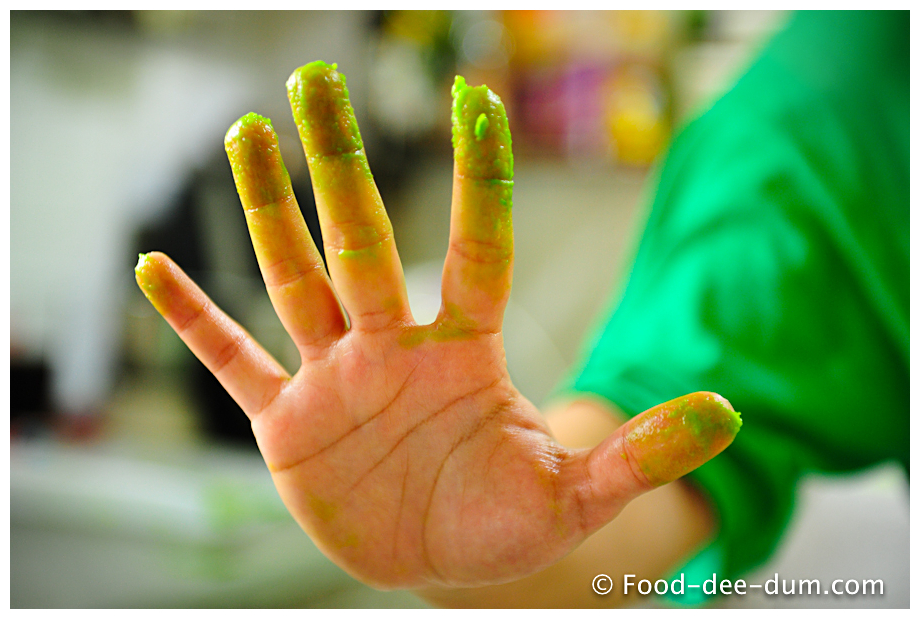
AK was extremely fascinated with the havoc that the colour wreacked on my fingers!
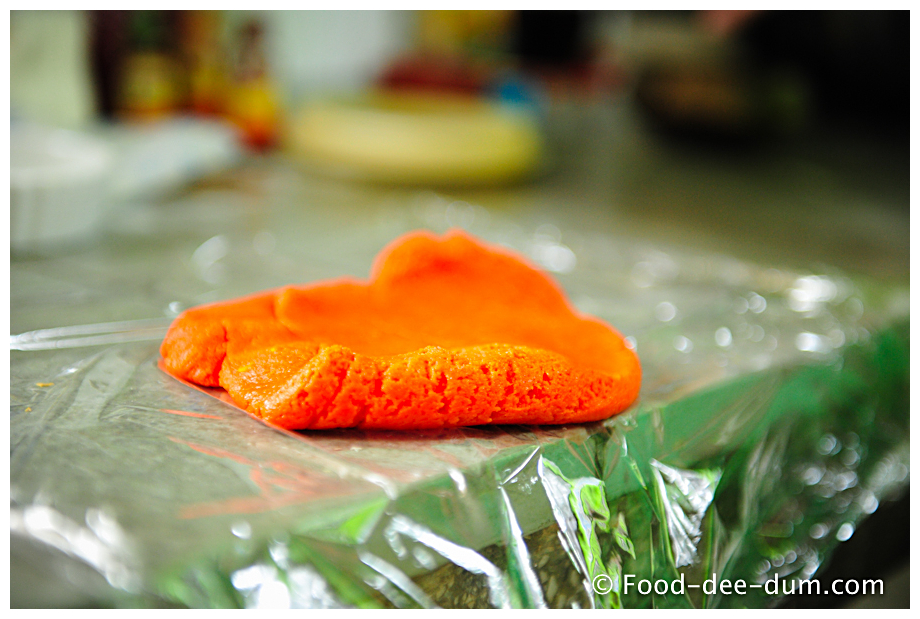
And yes, I know my fingers match my t-shirt. What a happy coincidence. Anyhow, I repeated the process with the other half. Like I said, I didn’t have any orange colour at home, so I mixed red and yellow and thankfully, it worked.
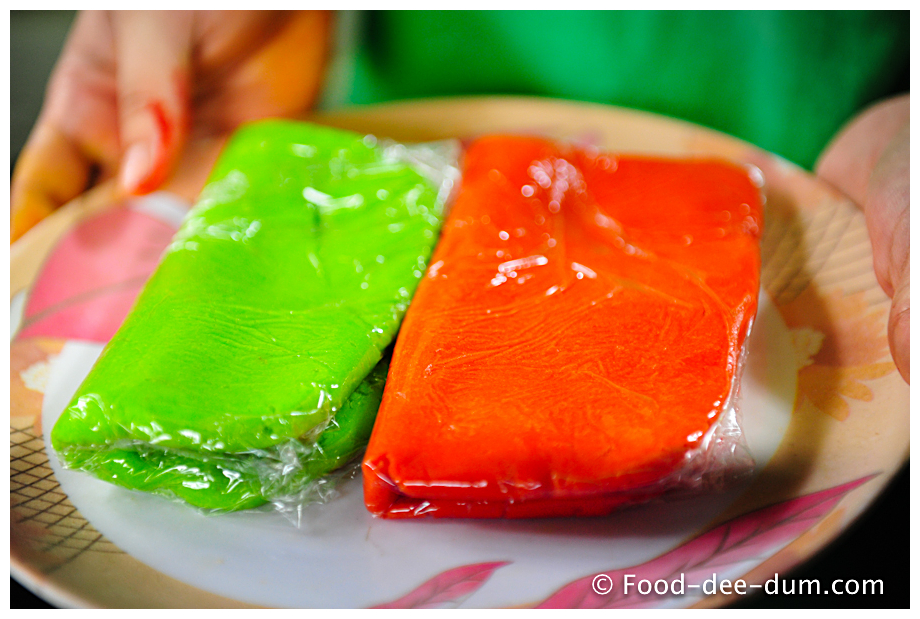
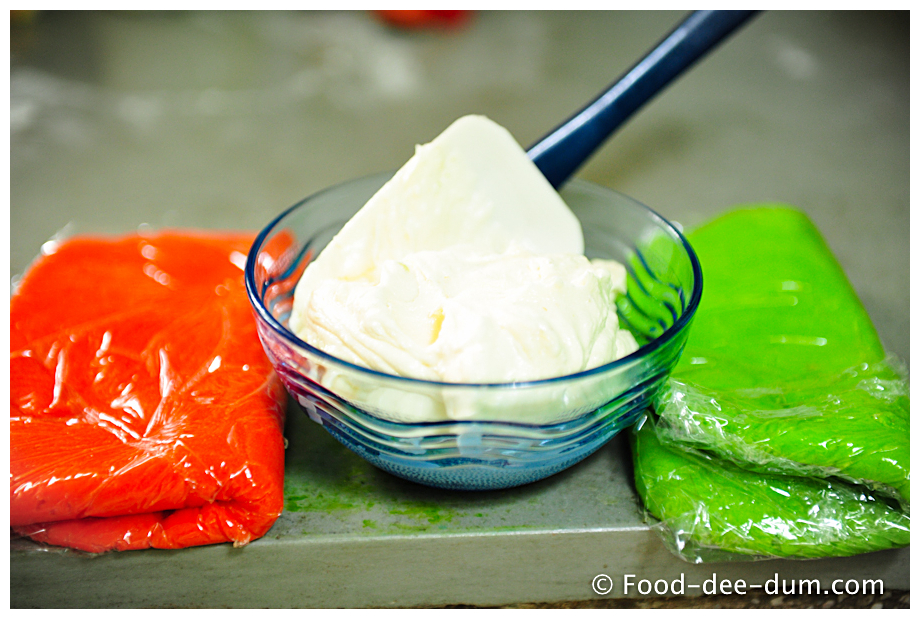
Here are both the colors, ready to chill in the fridge (again, pun intended).
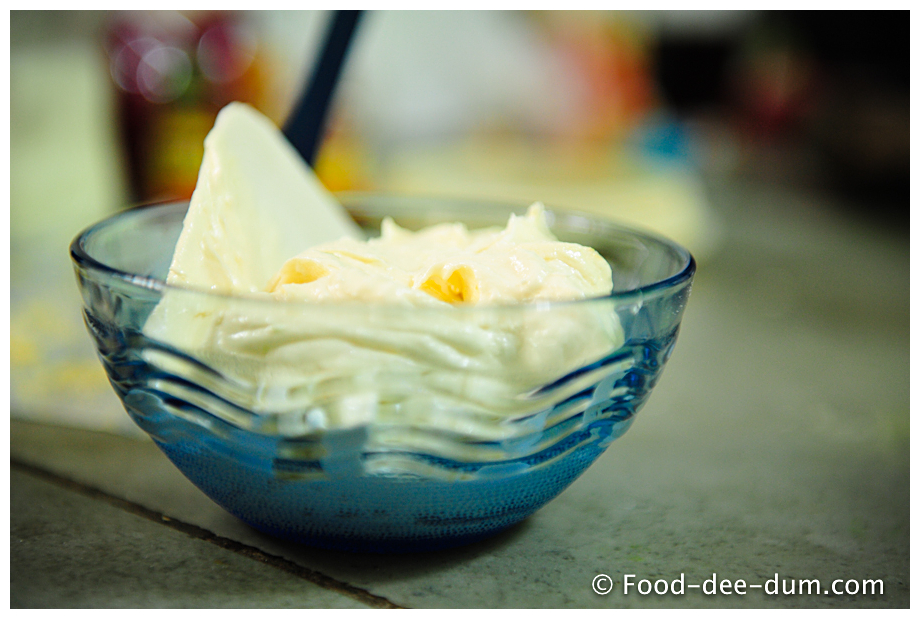
While they were “chilling” in the fridge, I made the filling. Since the process apes the first part of the cookie dough, I’m just going to list the steps and add all the photos together:
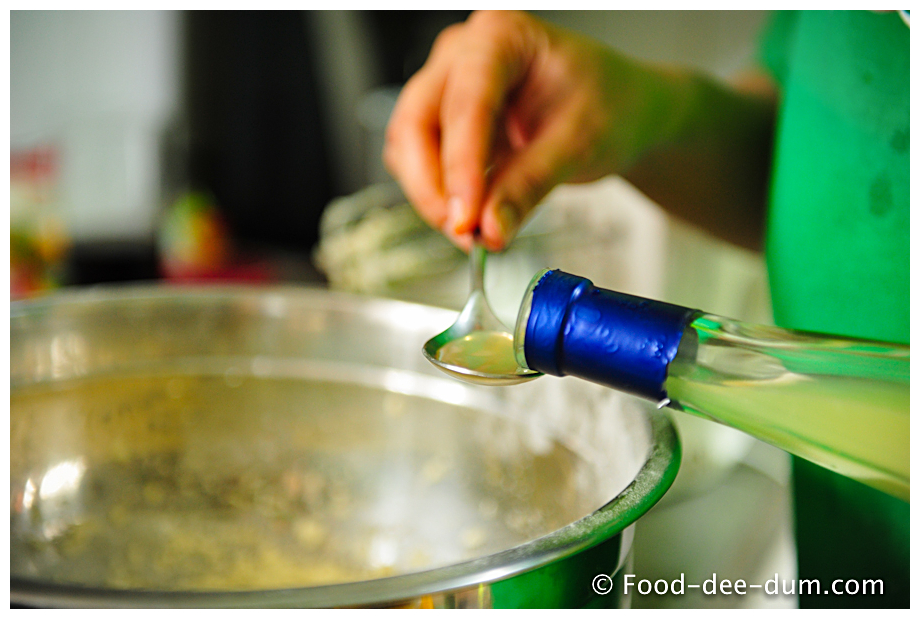
Beat the sugar, butter and zest on high speed until pale and fluffy – about 5-6 minutes. Add the liqueurs and stir to combine.
I brought the other colours out, just for a photo op!
Off they went, back to the fridge (including the filling) until the requisite 1 hour was up. When I was ready to make the cookies, I turned on my oven to pre-heat at 150 c/ 350 F.
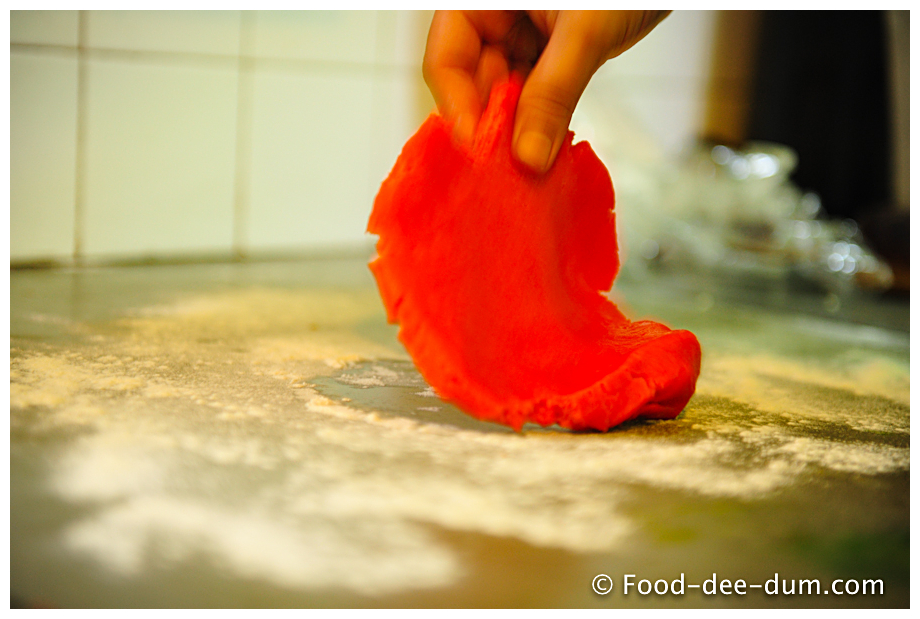
I decided to start with the orange. I generously floured the counter and plonked the dough on it, kneading a little to soften it.
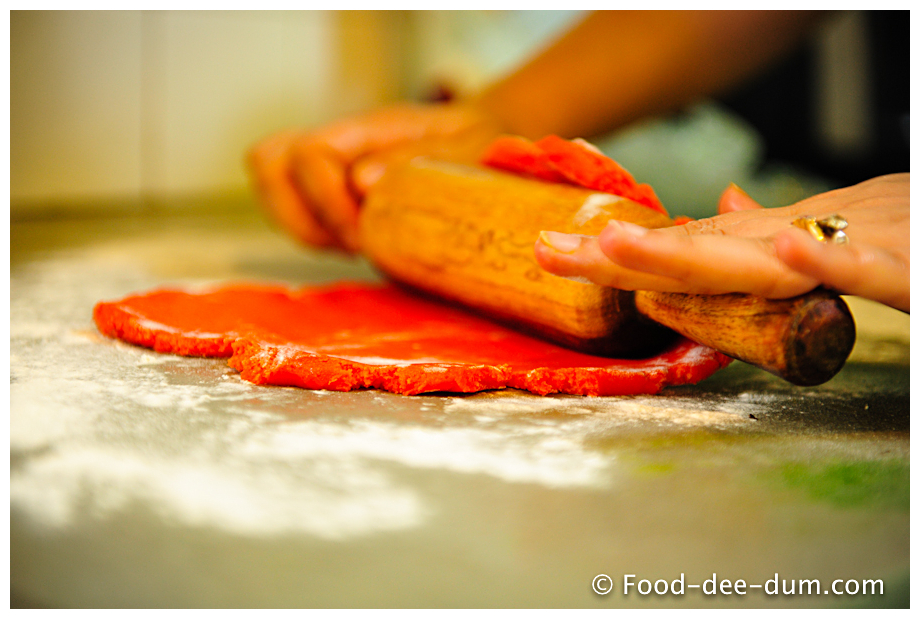
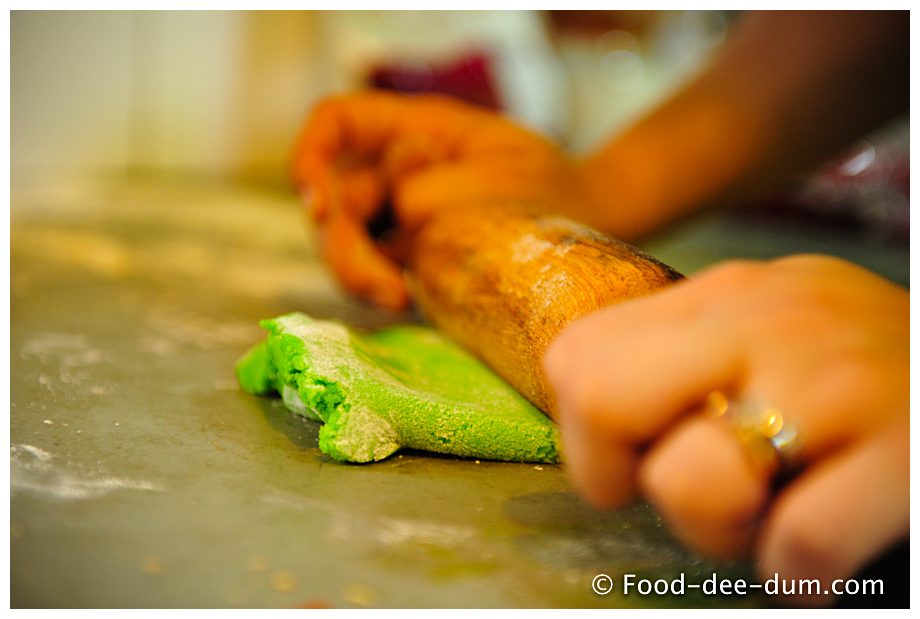
Flouring the rolling pin, I rolled out the dough pretty thin, about 1/8 of an inch. Remember that these cookies don’t rise or spread so they will end up exactly as you roll and cut them. Keep flouring as you go to avoid sticking to the pin or the counter. (Which reminds me, I need to buy a bigger rolling pin, meant for pies and cookies, rather than my roti belan.)
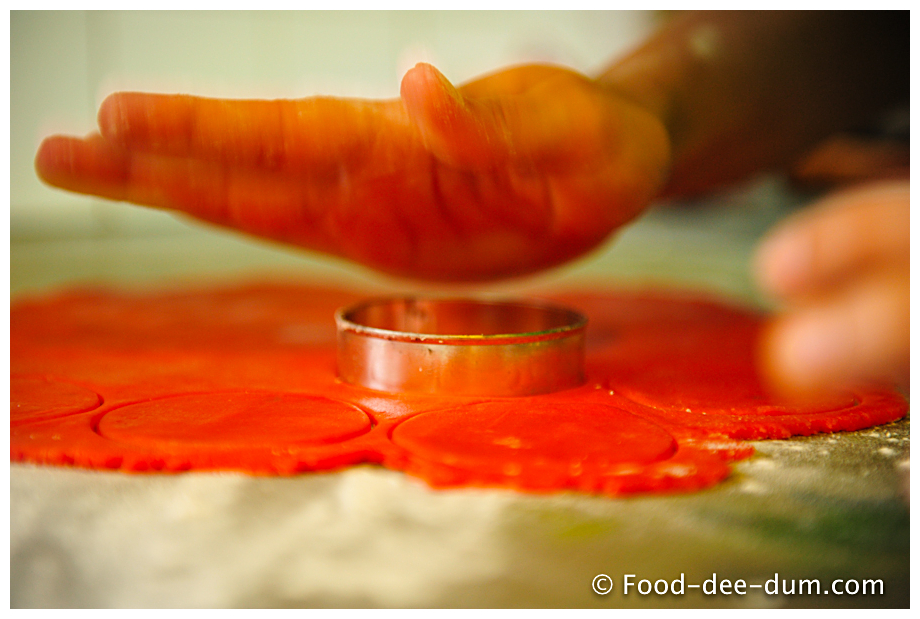
Once done rolling, I used a 2″ diametre round cookie cutter to cut circles and transferred them to the butter paper lined cookie tray. You can use katoris or other funky shaped cutters. I chose to keep them a simple round because I wanted to sandwich them and simple geometric shapes make for better alignment.
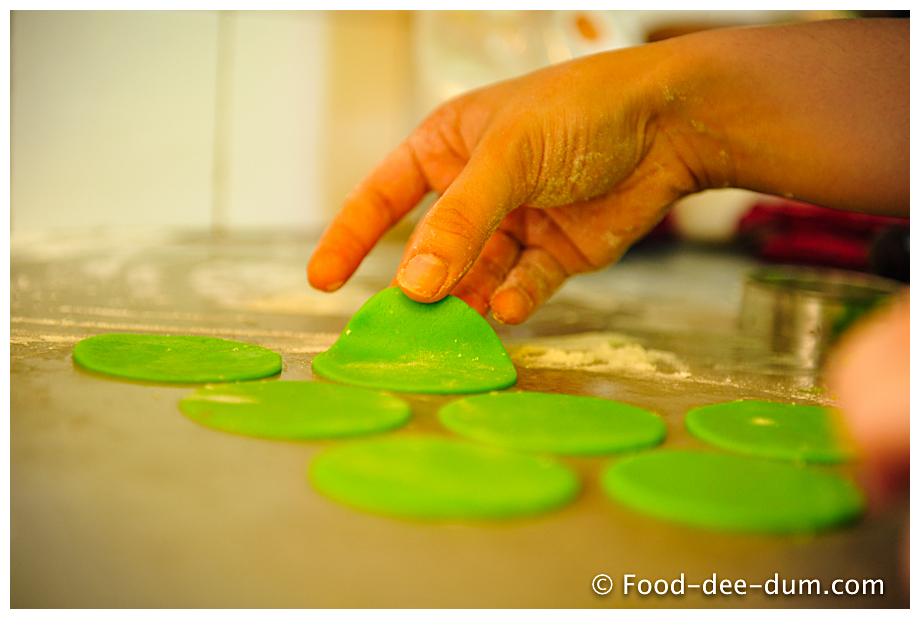
You can keep dipping the cutter in some flour in between cuts to make sure it doesn’t stick. I stamped them out and then carefully lifted the unstamped / negative space dough up and away to leave the circles on the counter.
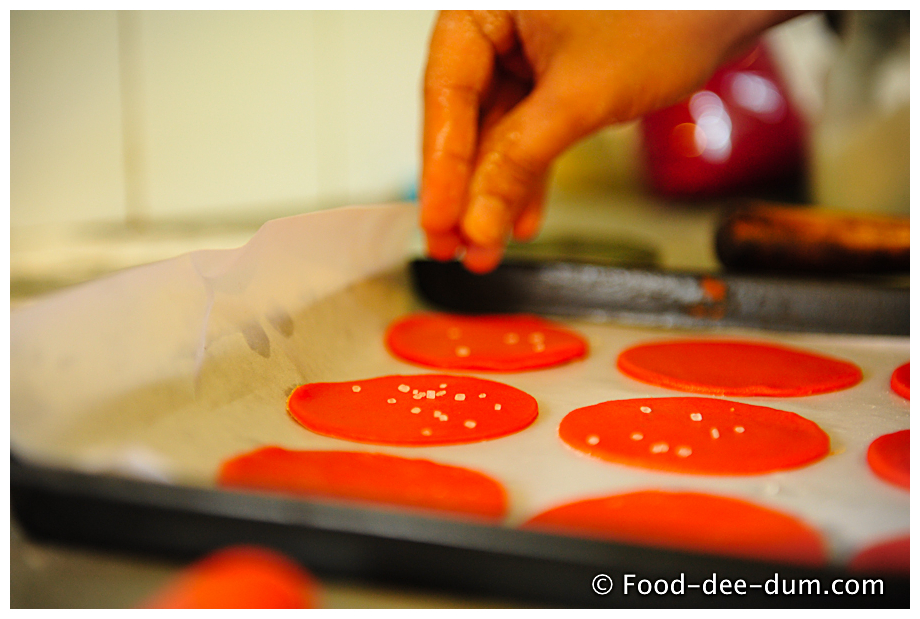
Then came the tricky part – moving them on to the lined cookie tray without destroying them. I tried using my offset spatula but gave up. I figured the best way was to move very very quickly – dip fingers in flour, loosen the cookie edges, quickly lift up and quickly place on the paper. The longer you hold on to them, the more likely they are to stretch out.
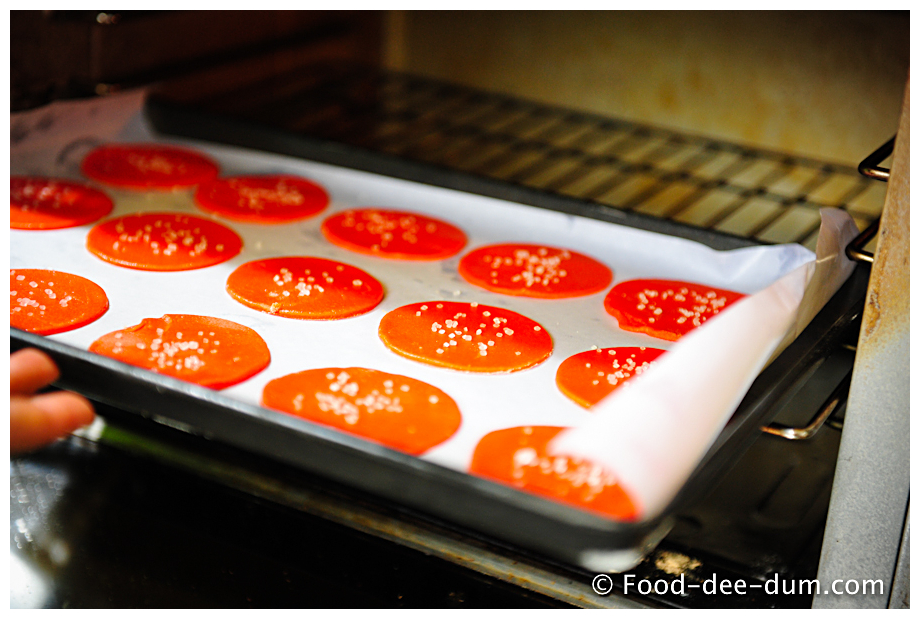
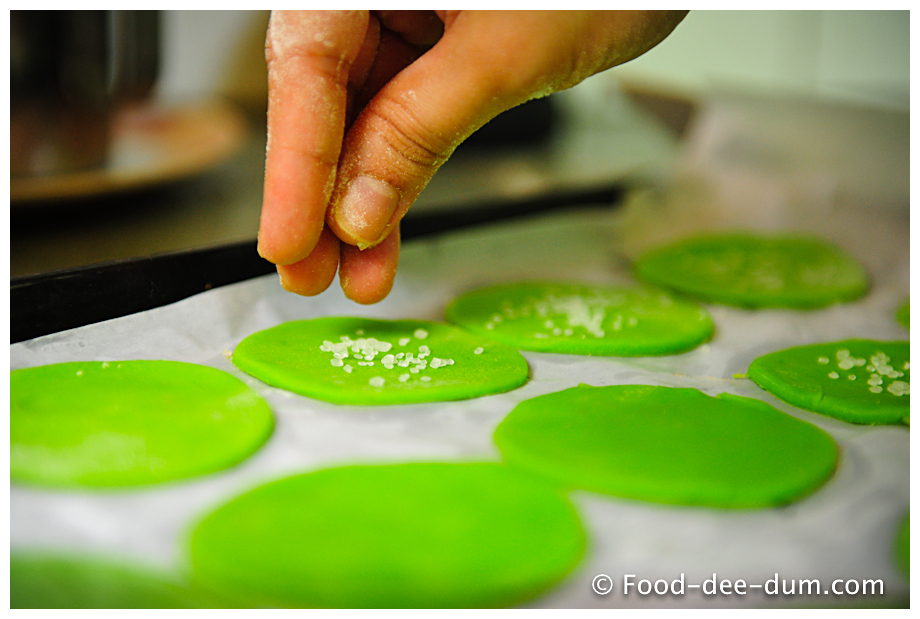
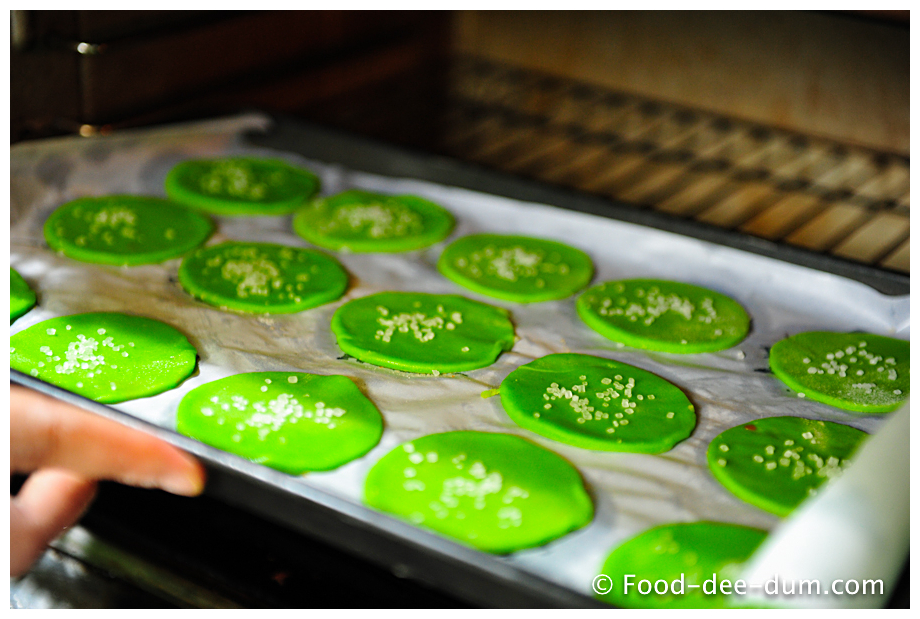
Next, I sprinkled them with some sugar and stuck them in the oven for 15mins, watching closely. Just when they begin to brown, you should pull them out. We don’t want these to be brown or even golden brown.
Oh and, by the way, I flipped the tray halfway through baking – at about 7-8 minutes – because I wanted even cooking. I have a small oven and the 9″x13″ tray almost touches the walls. I feel like the front of the oven (where the door is) is cooler and gets even cooler each time I open the door to check on the cookies, whereas the other 3 sides are super hot. Maybe I’m paranoid. But you might want to try it. Or not.
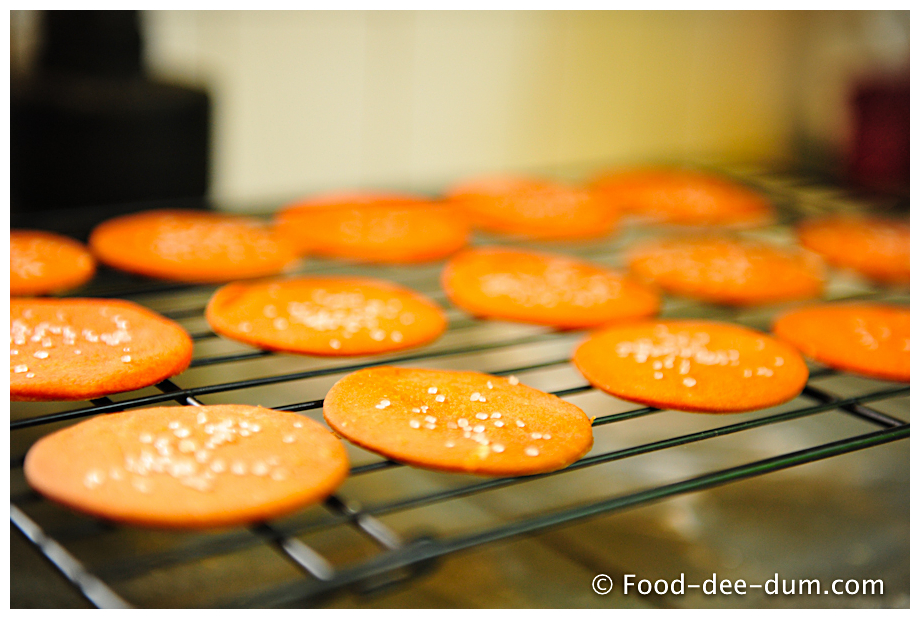
Anyhow, when done, transfer the cookies to a cooling rack and allow to cool completely before filling.
This is what the first batch looked like:
I made these in 3 batches. I got 48 cookies (24 sandwiches) total. So 24 from each colour. Yes I know I’m overdoing the math!
Here are the green ones…
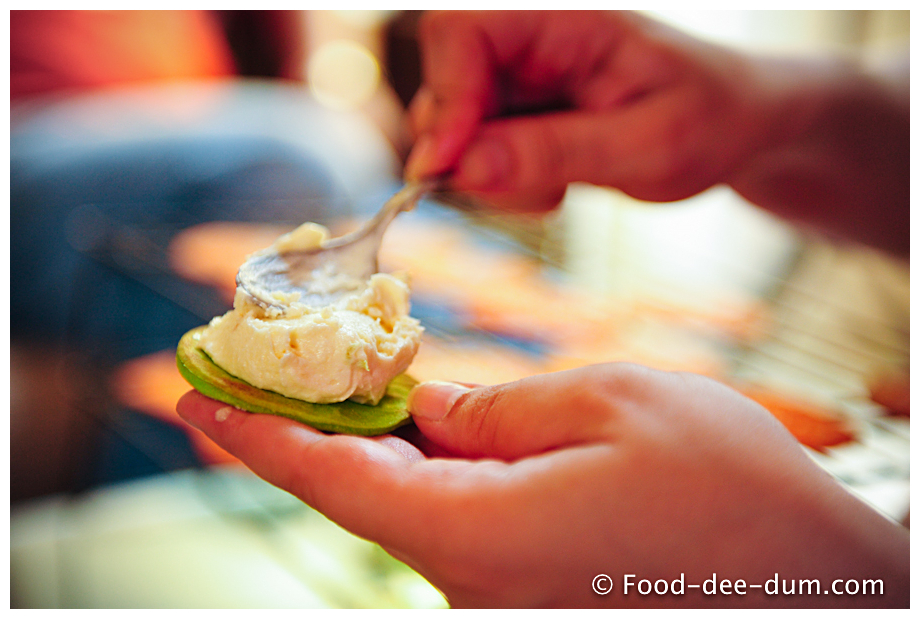
When the cookies were all baked and cooled, I proceeded to fill them with the filling. You can be as generous or stingy as you like. I personally like a thin layer of the filling but AK likes a whole lot. So I made them with different amounts of filling! 1 heaped tsp is a reasonable measure.
First I heaped on a tsp of filling in the centre of a green cookie.
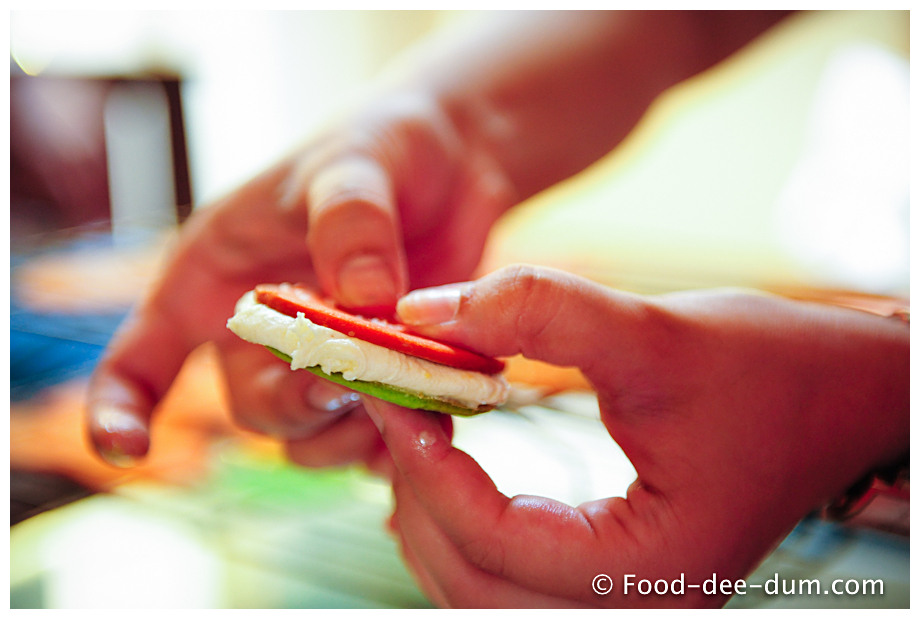
Then I put an orange one on top and pressed down gently to spread the filling out to the thickness/ thinness that I wanted and (relatively) neatened the sides by swiping all around the cookie with my finger.
Repeat 23 times! And end up with this…
Happy (Belated) Independence Day!
PS – In the crazy Indian heat, the filling gets a little runny if left outside, so I stored the cookies in the fridge in an airtight box. They should last about 2-3 days, and the unfilled ones for about a week. But AK finished our batch in less than 24 hours. (@ 1 cookie/hour!)
