 Pineapple Upside Down Cake has always fascinated me, despite the fact that I usually don’t like overly sweet dessert. I’m sure that most of you will think that’s an oxymoron but some of you may understand! So predictably, the typical recipe using canned pineapple rings with the maraschino cherry in the centre of each ring is not the idea I’m in love with. To be fair, I loved it in my teens but I like to think that my taste has evolved a teeny bit since then.
Now, I like a little spice and kick in the cake. It should be rich in flavour but not proportionately sweeter. The mellow adult version, if you may, but not necessarily boozy. Although, that is a possibility as well. Before I go nuts with all the options, let me get back on track.
I first made this cake last year for my cousins’ wedding anniversary party. It worked quite well but, for me, it isn’t a hit until my primarily-chocolate-favouring husband passed it. He did more than pass it. (Almost) shamefully, we finished half the cake by ourselves in under an hour when I made it this past Sunday! The reason I didn’t make it before was that I was procrastinating about peeling and de-eyeing the fresh pineapple. It’s such a drama but well worth using fresh pineapple over the canned.
Trolling various recipes, I finally arrived at my favourite combination of this, this and this recipe to make my version. With a hint of spice and touch of coconut, this cake is transformed into an explosion of warm tropical flavours. If you add a bit of Malibu, you may just have yourself a cocktail cake.
Here’s what I used for a 9″ round cake:
For the Pineapple topping:
1 medium sized fresh pineapple
3/4 cup granulated white sugar
3 tbsp softened butter
1/4 tsp cinnamon powder
1/4 tsp black pepper powder
For the cake:
1/2 cup softened butter
3/4 cup powdered sugar
1 cup all purpose flour
1/4 cup desiccated coconut, i.e. dried and powdered (you can use coconut flour instead or, if you don’t like coconut, just use plain all purpose flour to eliminate that angle)
3/4 tsp baking powder
1/8 tsp baking soda
2 small eggs
1/2 cup milk
1 tsp ground/ finely grated fresh ginger (make it 1/2 tsp if you are using dried powdered ginger)
1 tsp vanilla extract
Here’s how I made it:
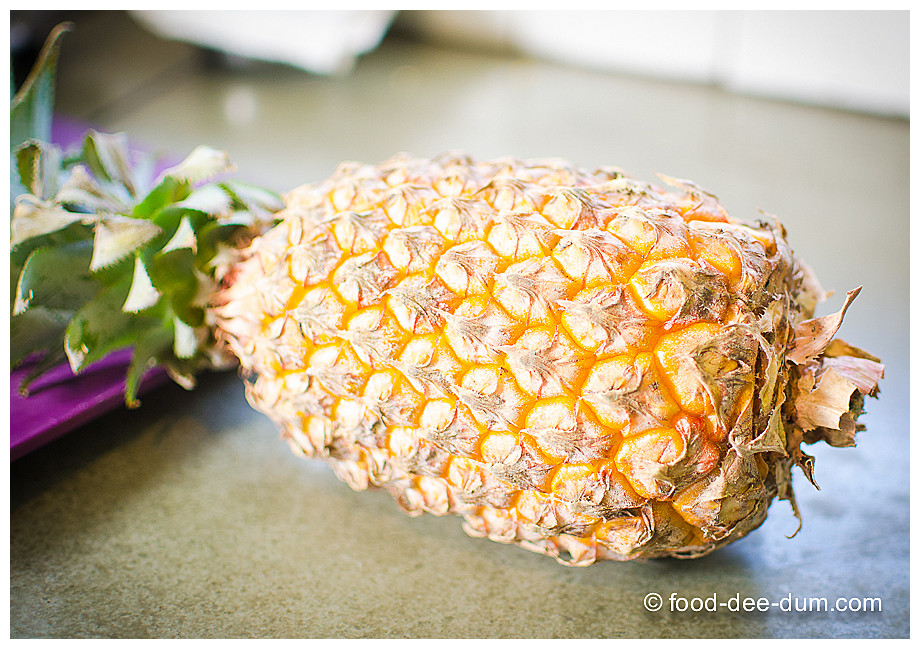
First, I dealt with the pineapple (aaargh). To begin with, I cut off the top and bottom. Standing it up on the cutting board, I used the knife to run down the length in sections to get rid of the peel.
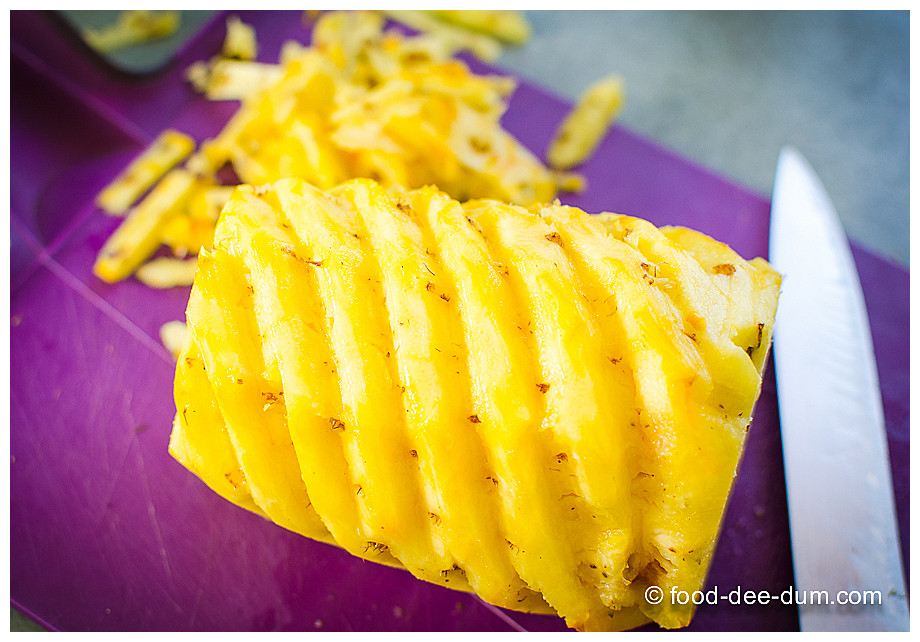
That left me with a ton of eyes, so I used this trick I found on various youtube to make shallow V-shaped cuts in diagonal lines along the eyes to gouge them out! Yes, I like violent descriptions.
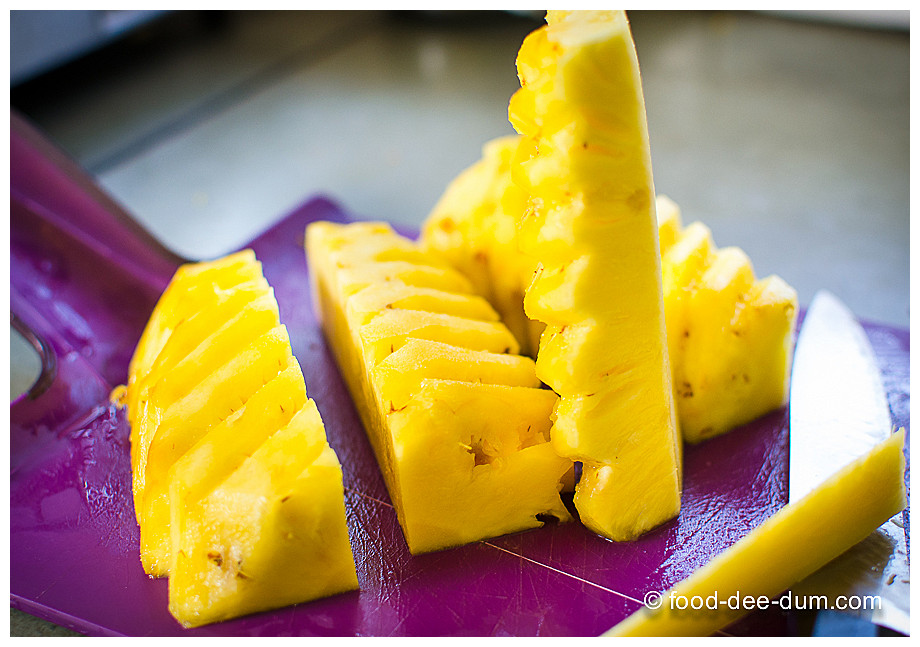
Well I got most of them. Maybe I still need some more practice and dedication! Next, I quartered it lengthwise and cut out the hard core.
Then into 1/4 inch thick slices.
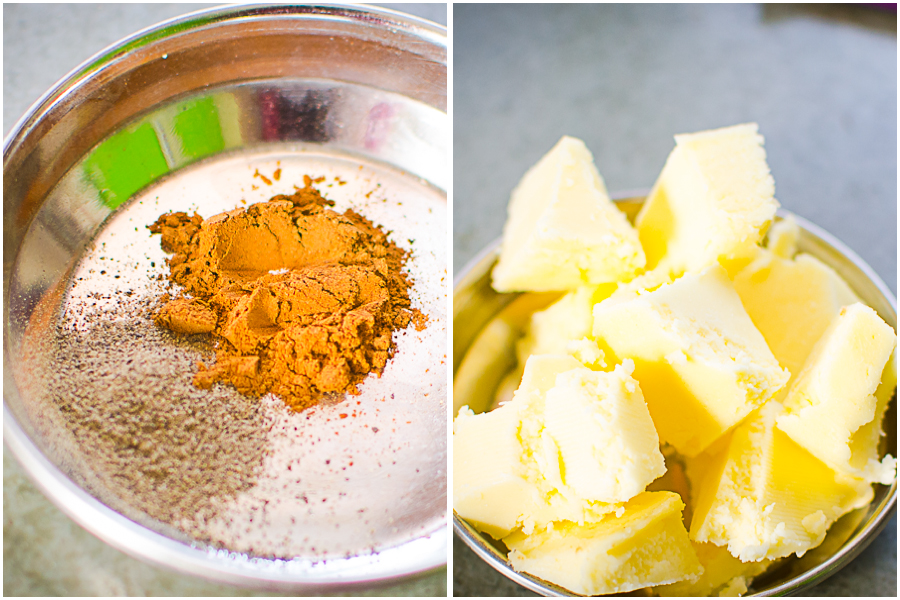
Setting these aside, I got the other items for the topping ready because once the caramel gets going, I like minimum distraction lest I burn it.
I didn’t actually measure the butter but just eyeballed a big hunk — which ended up being too much and I ended up with a little extra butter than didn’t incorporate into the caramel. So don’t be like me. Measure.
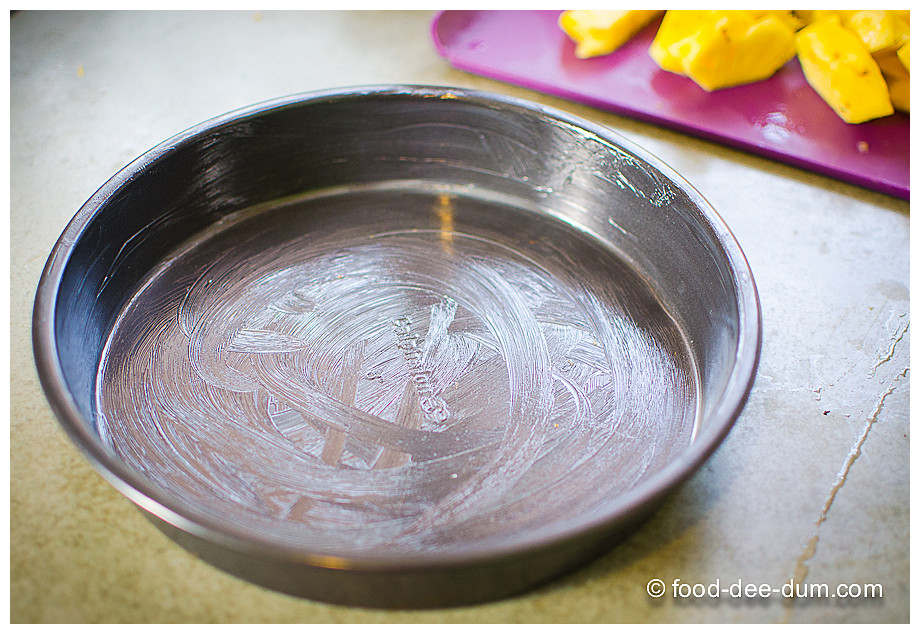
I also turned on the oven to pre-heat at 180 C and greased a 9″ round cake pan (I actually discovered that my 9″ pan was missing and the 8″ pan with higher sides was slightly cracked. So I used an 8″ x 1-1/2″ round which caused some problems. But we are just going to pretend that I used a 9″ x 2″ round. And you should use the same).
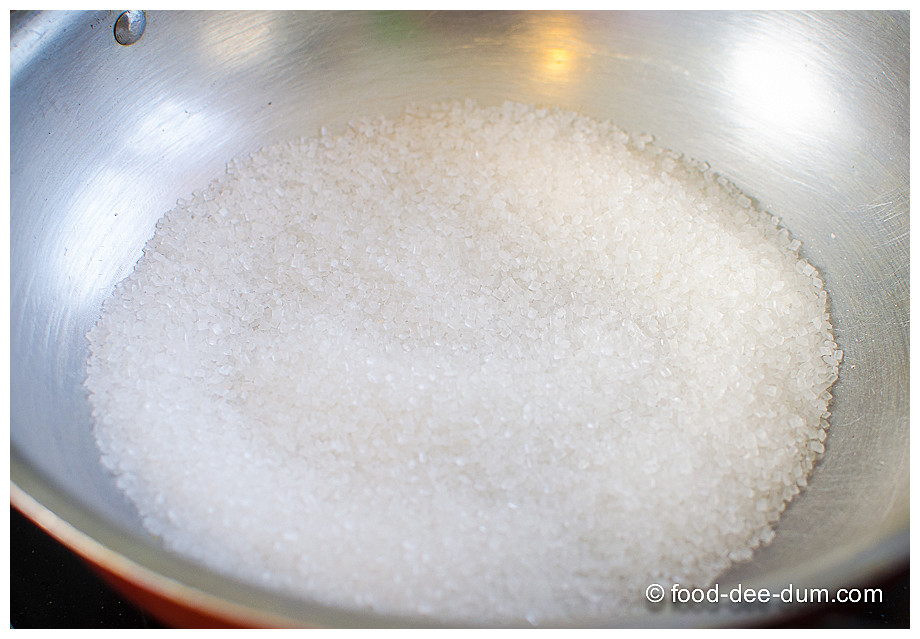
Placing the sugar in an even layer in a heavy bottomed vessel, I set it on medium heat. A few things I’ve learned about making caramel over time:
- Use a heavy bottomed pan for even heat distribution. Also, steel/ aluminium is better than non-stick so that you can see the minutest change in colour.
- A pan with a good sturdy handle is always better because you can swirl it around. Stirring with a spoon/ spatula is bad for the caramel.
- The pan should be dry – water droplets can ruin it.
- Normally, one must keep an ice bath (larger vessel with ice and water) handy so that the caramel pan can be placed on top to immediately stop the cooking once it reaches the desired colour. The residual heat of the pan/ stove burner can burn it. But in this recipe, we will add butter and spices so we don’t need the ice bath.
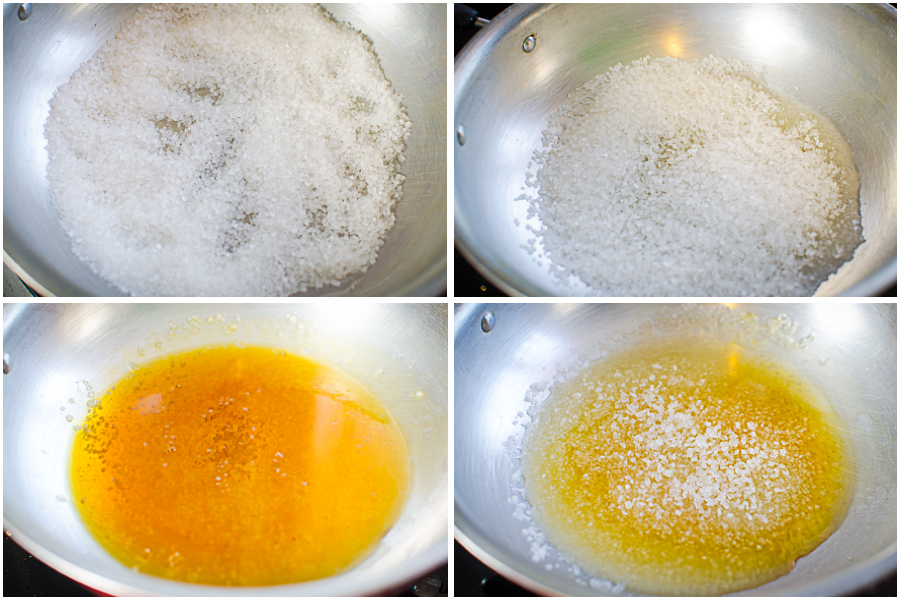
Keeping the heat on medium and gently swirling the pan occasionally (but not stirring), I watched the pan like a hawk. The sugar went from slightly melty to very melty, slightly brown to a nice clear caramel liquid – see the image collage below, clockwise beginning from top left. The whole process should take close to 5 minutes.
I turned the stove off and tossed in the butter and spices, letting it sputter and foam furiously for a few seconds before giving it a good stir with a dry metal spoon. You can even use a whisk if you like.
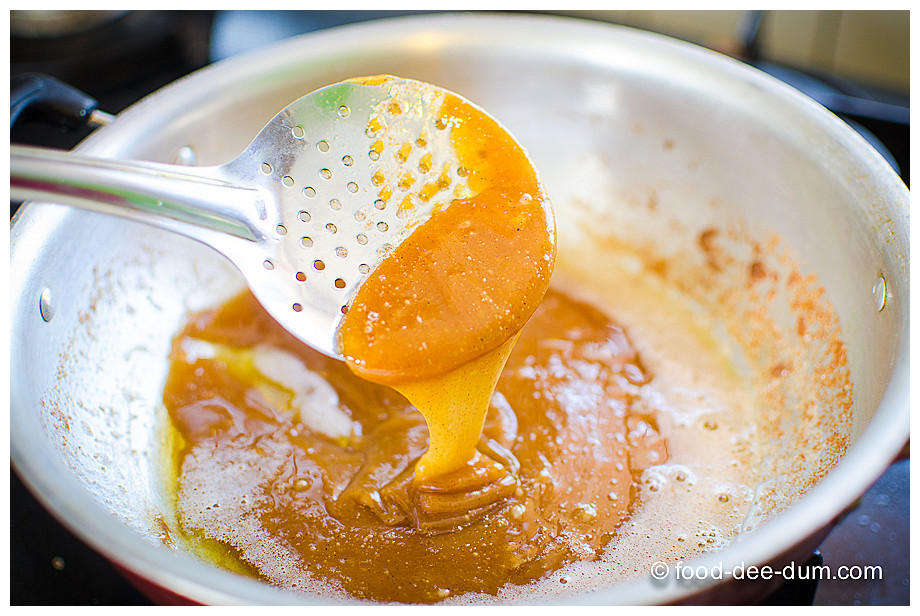
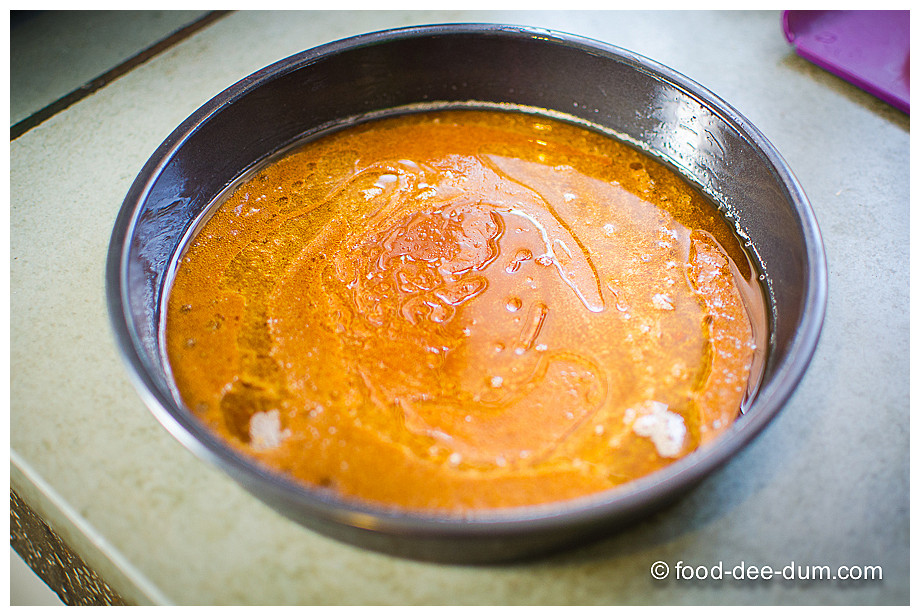
I turned the heat back on low and continued to stir until it formed this thick-ish toffee sauce.
If any parts solidify, continue to cook and stir on low heat and it should melt again. Thanks to my laziness in measuring the butter, I ended up with some melted butter that didn’t incorporate. As you can see in the next photo.
Anyway, moving on. I poured the sauce into the prepared pan carefully because it was incredibly hot and splash-burns would not be a pretty sight.
Carefully, without touching the hot toffee sauce, I arranged the pineapple pieces in concentric circles.
So even though I knew this in theory — the pineapple pieces shrink upon baking — I forgot and didn’t pack them tightly enough and had 1/3 of the pineapple leftover. Keep that in mind when you’re baking this and pack them as tightly as possible and try to finish all the pieces.
Setting this aside, I got the cake batter ready.
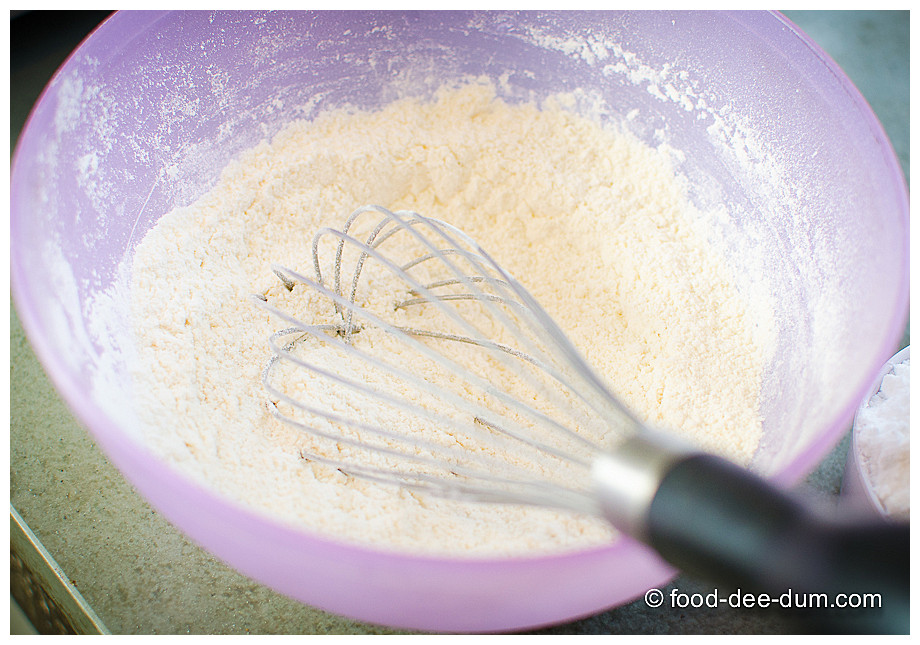
First I placed the flour, coconut, baking powder and baking soda in a bowl and whisked them to mix it all up.
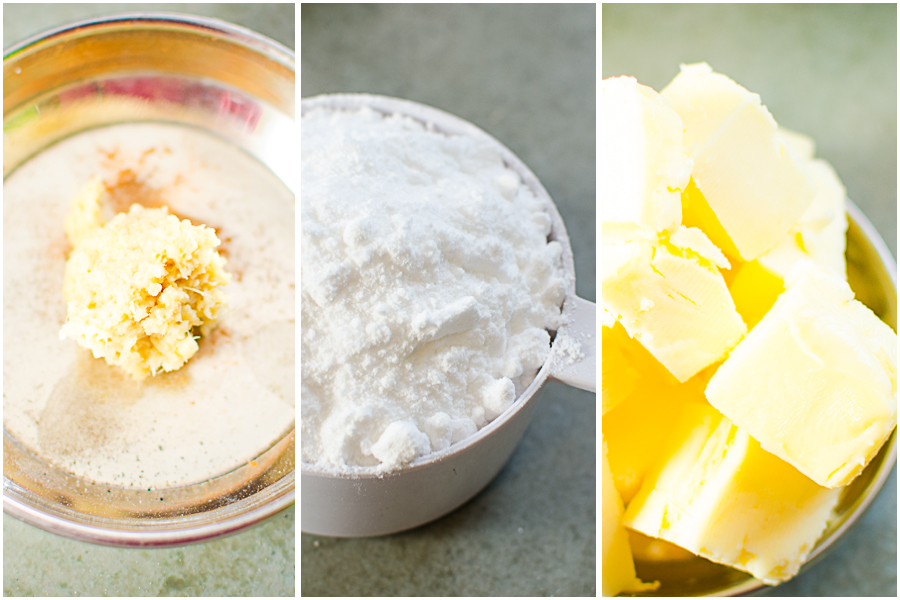
Grated the ginger, measured the sugar, measured the butter and cubed it (not necessary but if it isn’t soft enough, then cutting it into smaller pieces helps it to soften faster).
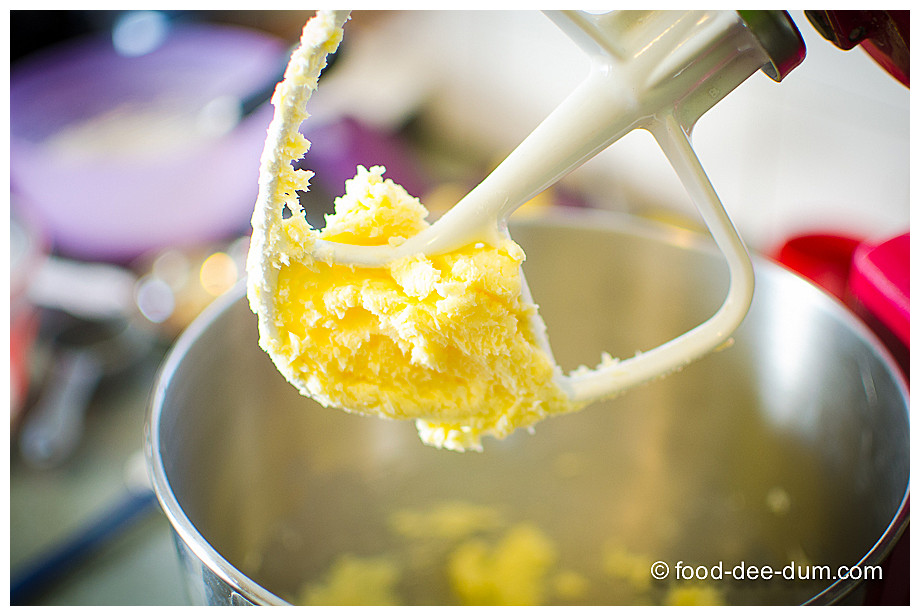
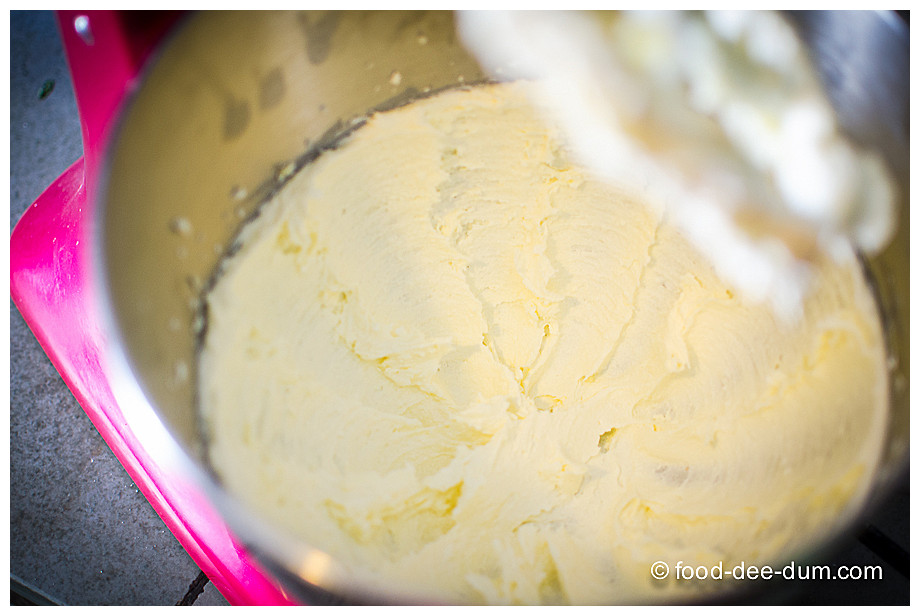
I beat the butter on high speed for a minute to finish the softening process and make it creamy.
Adding the sugar, I beat it on high speed for another 2-3 minutes till it was pale and fluffy.
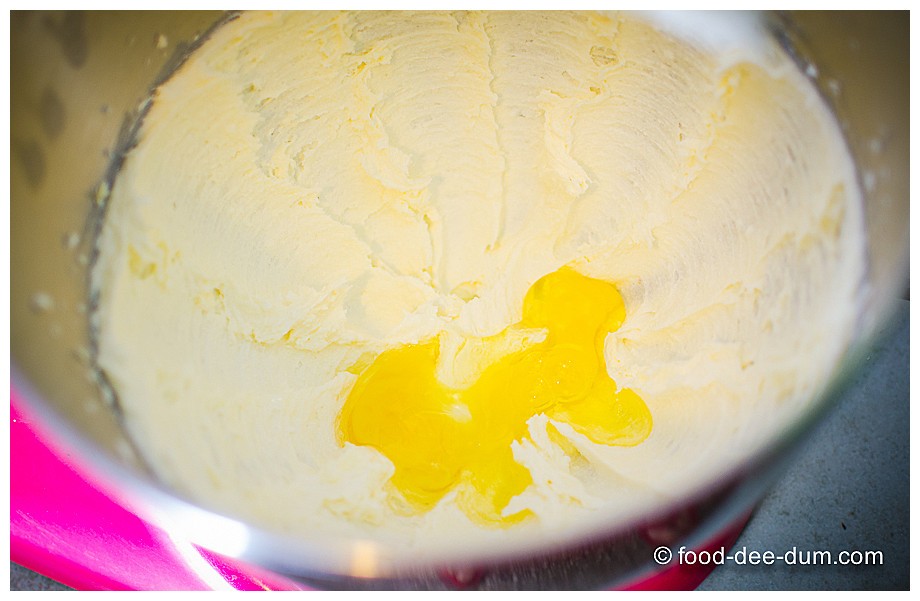
Next went in the eggs, one at a time, beating on medium speed between additions for a minute.
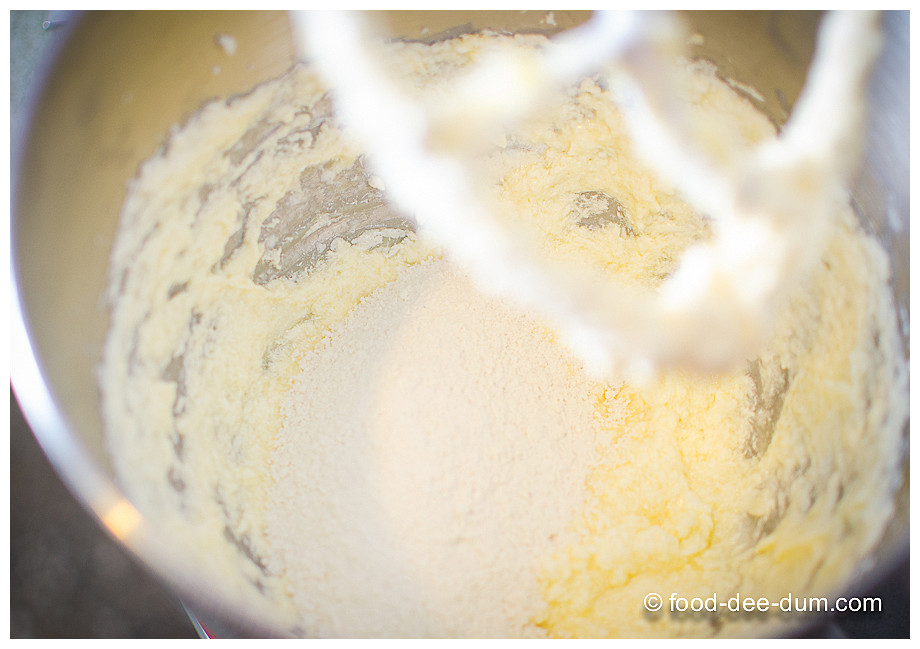
Adding the ginger and vanilla, I whizzed it for another 30 seconds to incorporate. Then I alternately added the flour mixture and milk, beginning and ending with the flour. i.e. flour, milk, flour, milk, flour, mixing on low speed for a few seconds between each addition.
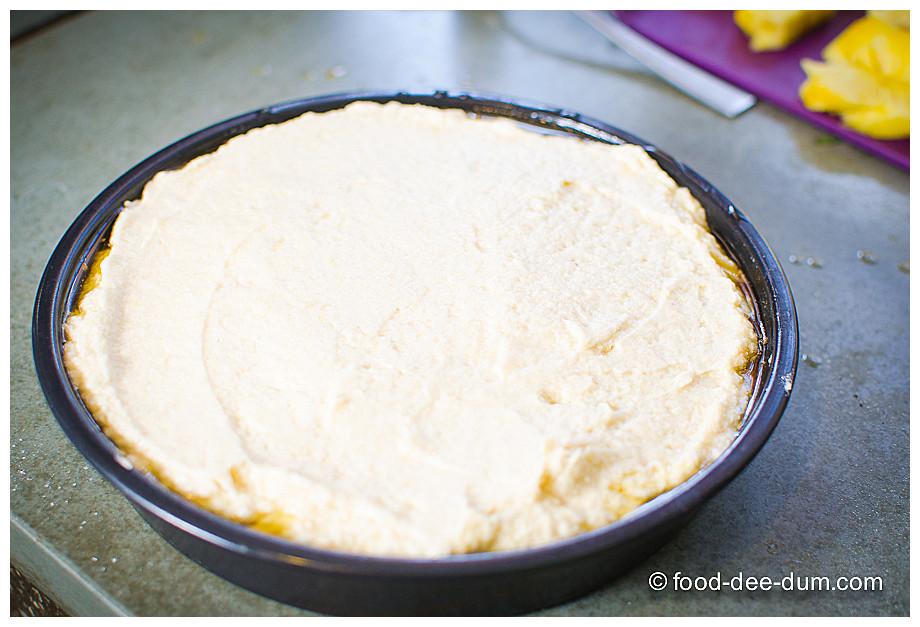
I usually do the last flour addition without the mixer, using a spatula instead. Then I spooned the batter in the cake pan, over the pineapple and leveled the top using a spatula.
I’m using a smaller pan than I should, so you can see how high the batter is. That is totally wrong! I gently tapped the cake pan on the counter a few times to ensure that the batter managed to creep into the crevices between the pineapple pieces.
To make up for my pan mishap, I had to line the sides with a foil wall and support it with the sides of my 8″ springform cake pan. I’m going to spare you the pictures, but you can just save yourself the trouble by using the right pan to begin with.
I popped it in the oven for about 35 minutes and then lowered the heat to 150 C for another 10 minutes. In a proper 9″, you should check the cake at 30 minutes and then reduce the heat for a further 10-12 minutes. Use a toothpick to test the cake right in the middle. If it comes out without batter, it’s done. If not, then continue on the lowered heat and check in 10 minute intervals.
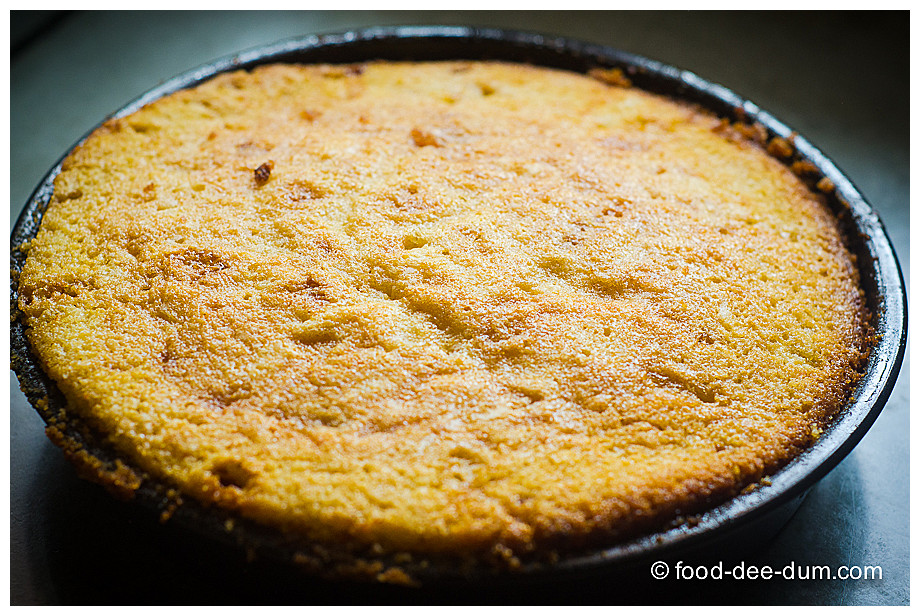
I removed the pan from the oven and set it on top of the counter to cool for about 20 minutes in the pan.
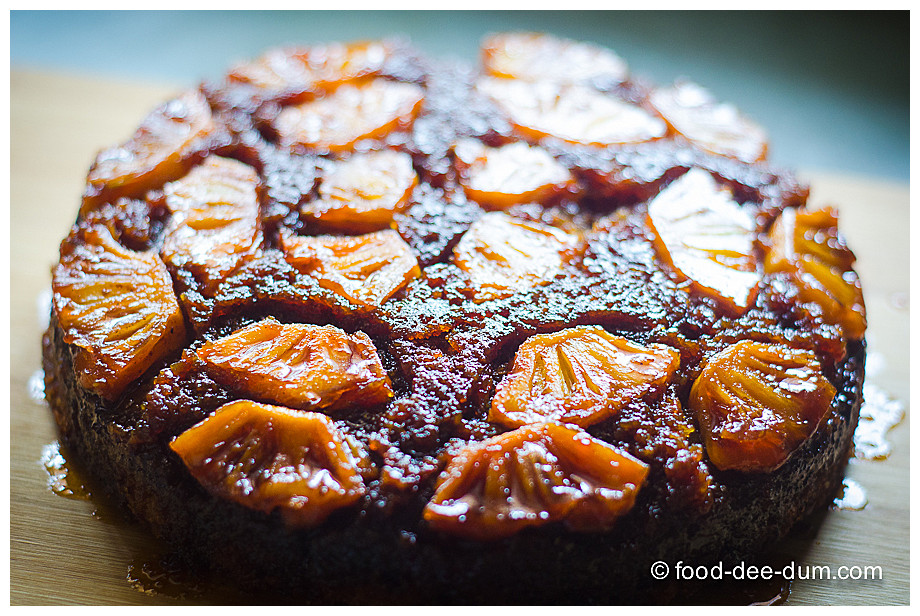
See how my foil and extra support on the sides made it lopsided! Aaaargh. Once it had cooled a little, I placed my cutting board on it and flipped it over.
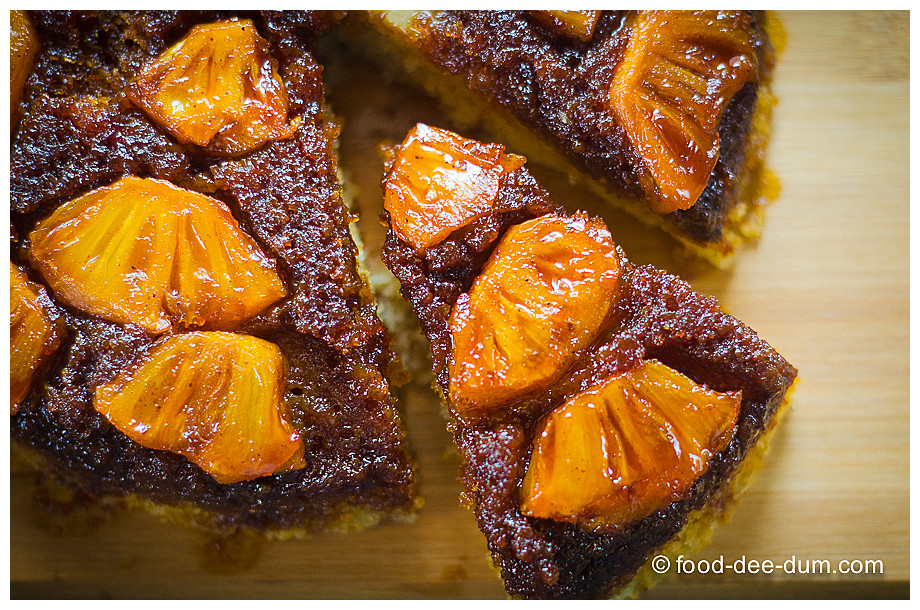
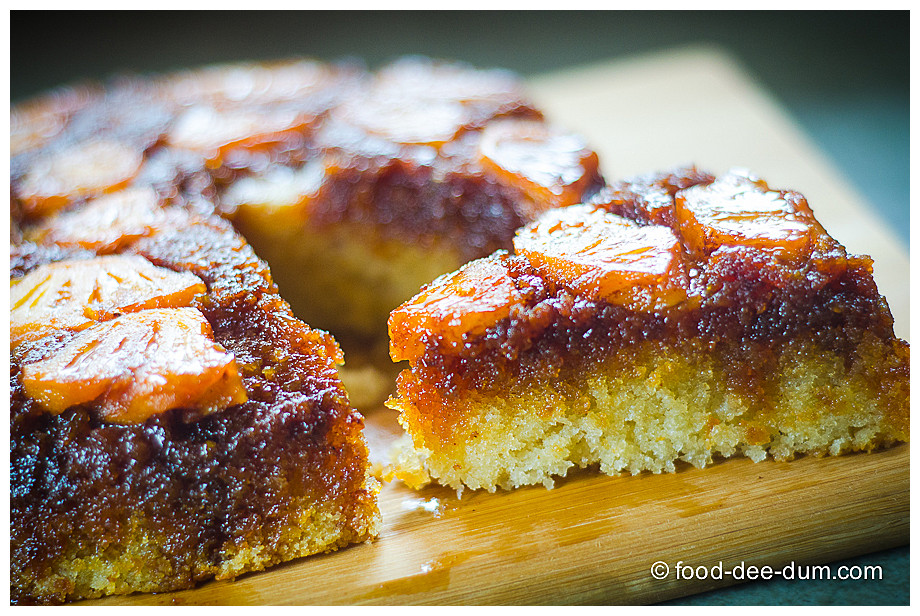
It should cool for another 20-30 minutes before cutting. It gives the caramel and juices a few more minutes to settle. AK & I clearly lacked the patience so we cut a slice almost immediately.
We curbed our excitement and waited half an hour for the next slice, but after that there was no stopping us! We were shamelessly addicted and barely had enough pieces left over for our unplanned dinner guests that night.
It’s going to be an oft-repeated dessert in the Kartha household from now on…
