Or what to do when you have way too many bananas and mangoes in the house.
Coconuts have been very prominent in my recent posts – Mango Mojito, Banana Coconut Smoothie. In addition to the blog posts, I’ve been having a lot of idli/ dosa with coconut chutney and Tambli inspired by Revati too. This combination of mangoes and coconut has been in my head, waiting to emerge as a cake for a while. When I finally got down to it, bananas popped into the mix and I can’t say that it was a bad idea! The recipe went from being a Coconut Mango to a Banana Mango Cake, and I assure you that nobody complained.
Here’s what I used for an 8″ round cake:
2 overripe bananas (well at least 1 was overripe – but ideally both should be)
2 cups all-purpose flour
1 tsp baking powder
1 tsp baking soda
Pinch salt
1/4 cup oil
1/4 cup honey (you can use sugar/ jaggery/ maple syrup, if you like)
1 large egg
1 cup coconut milk
1 tsp vanilla extract
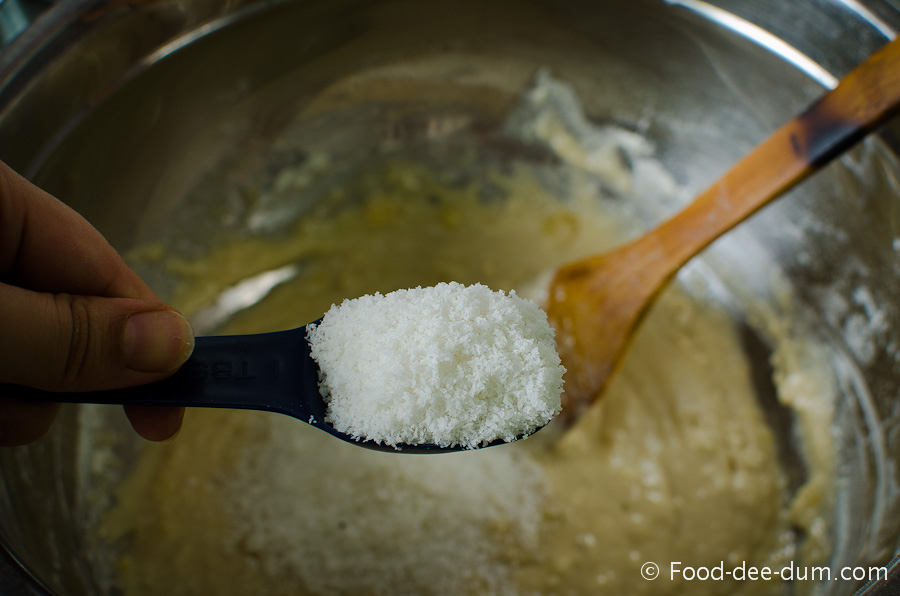
2 heaped tbsp dried, dessicated coconut
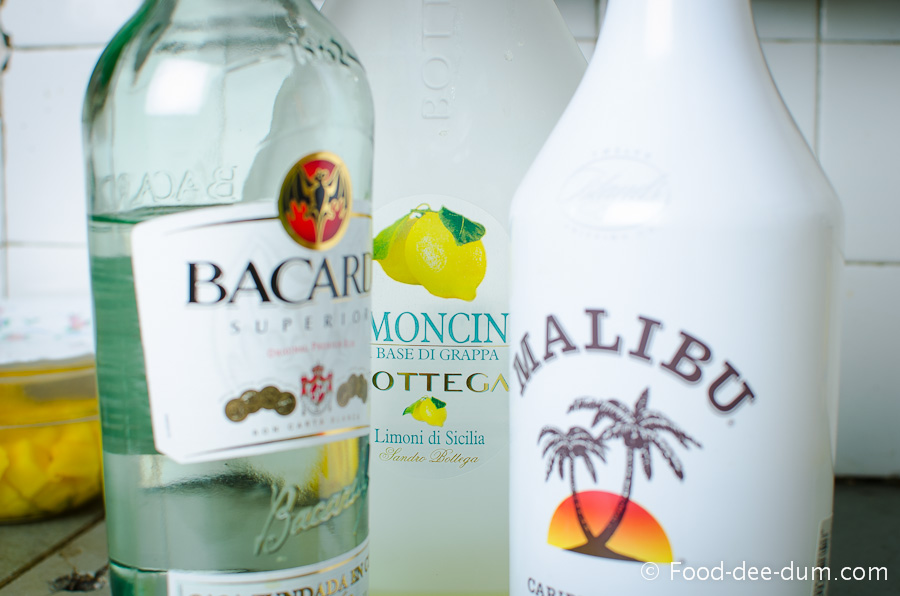
For the syrup:
1/8 cup Malibu
1/8 cup Bacardi
1/8 cup Limoncello
1/8 cup powdered sugar
For the Mango topping:
3 large Mangoes, about 800-1000 gms
2 tsp gelatin
1/4 cup water
2 tbsp sugar (or more or less, depending on how sweet/ tart your mangoes are)
Here’s how I made it:
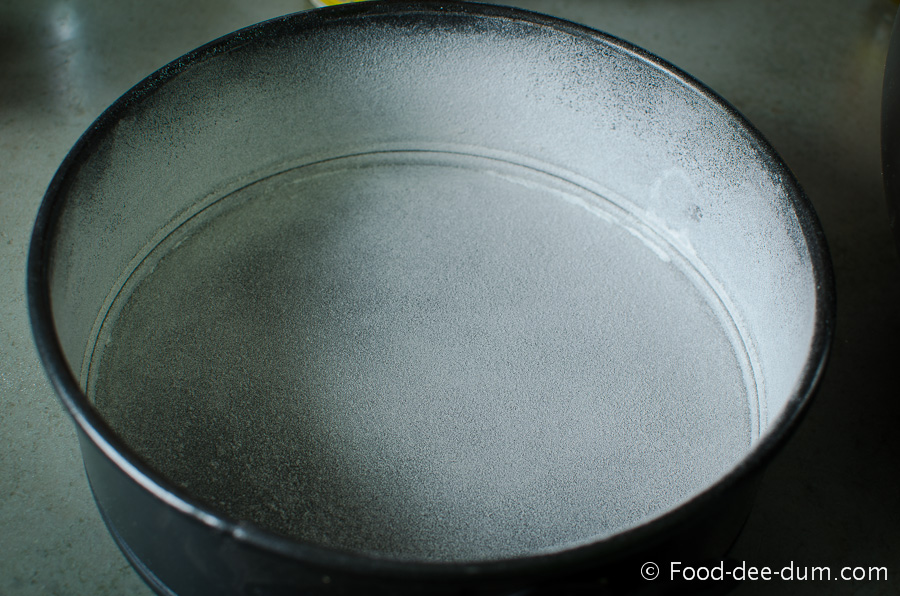
I turned on the oven to pre-heat at 150 C and prepared the cake tin. I used my 8″ springform (with a removable bottom). I greased it with oil and dusted with some flour and kept it aside.
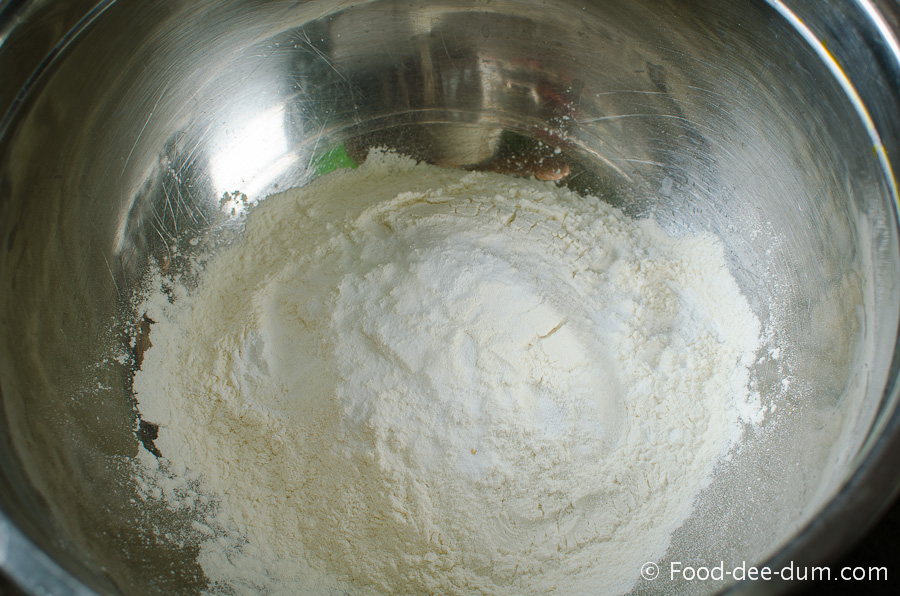
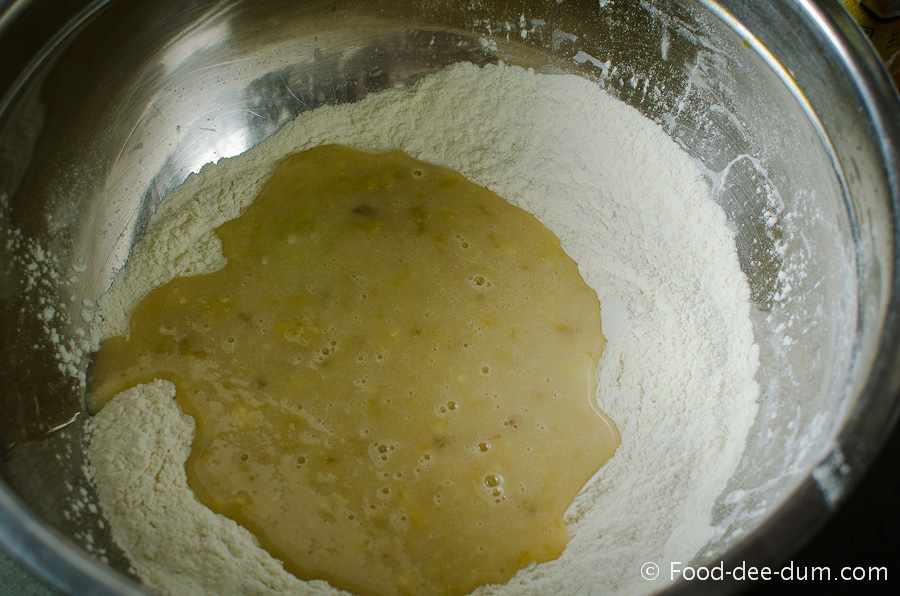
I put all the dry cake ingredients together, except the coconut, in a large mixing bowl and whisked till combined – the flour, baking powder, baking soda and salt.
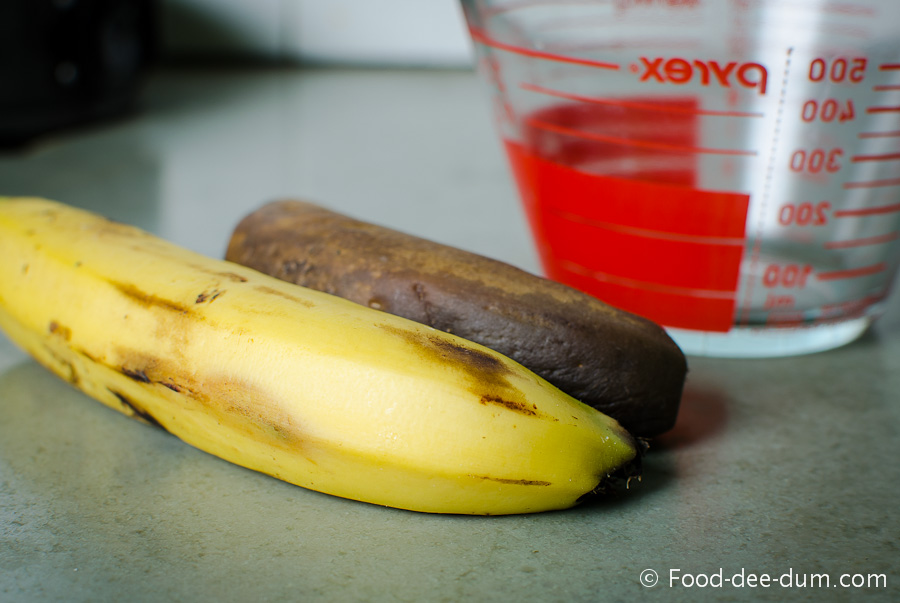
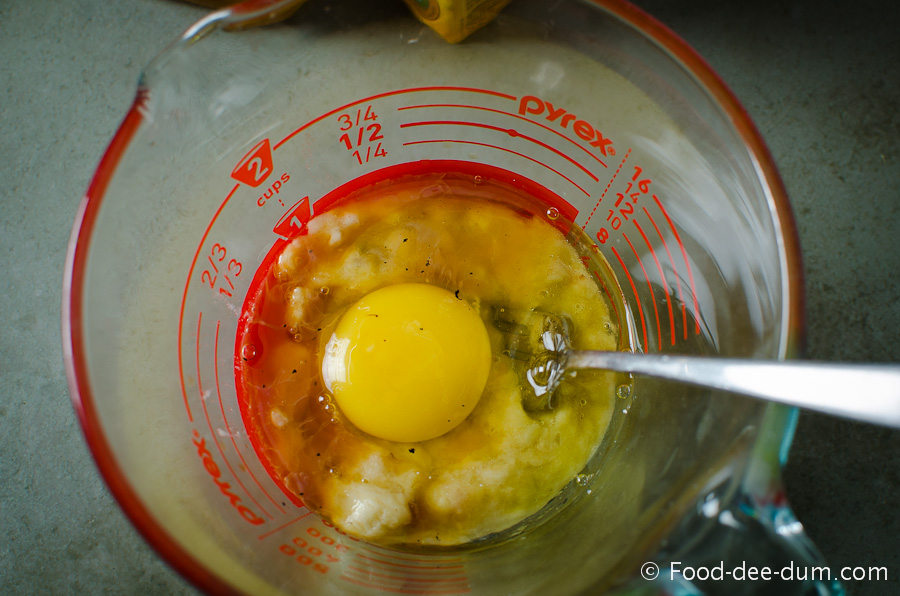
Keeping that aside, I mashed up the 2 bananas and placed them in my large measuring cup.
To them, I added the coconut milk, vanilla, egg, oil and honey and whisked to combine.

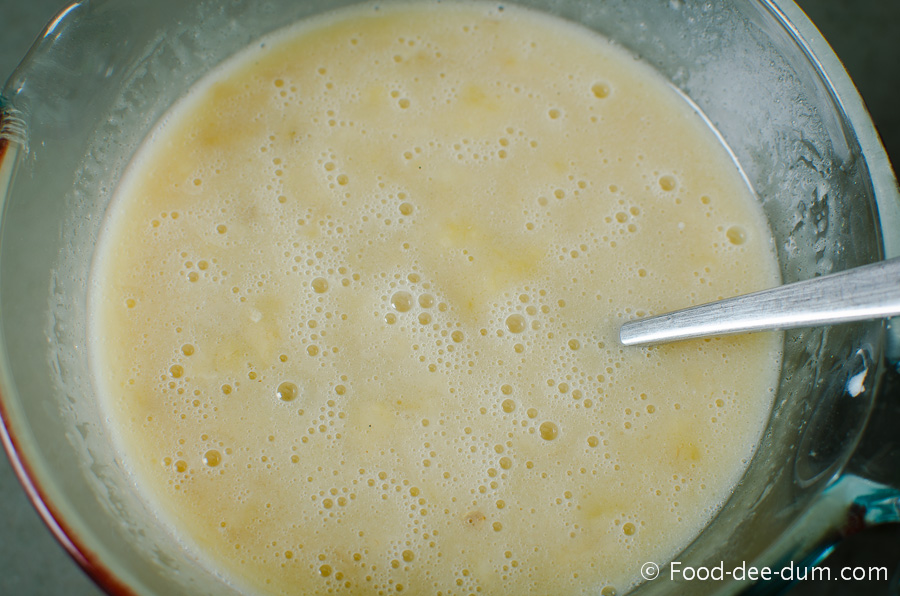
Then I poured this wet gloopy mess into the flour mixture and stirred to combine till no dry flour was left.
Adding in the dessicated coconut, I stirred till combined and poured into the prepared tin. Obviously, I forgot to take a picture of this step and only remembered when the cake was well ensconced in the oven!
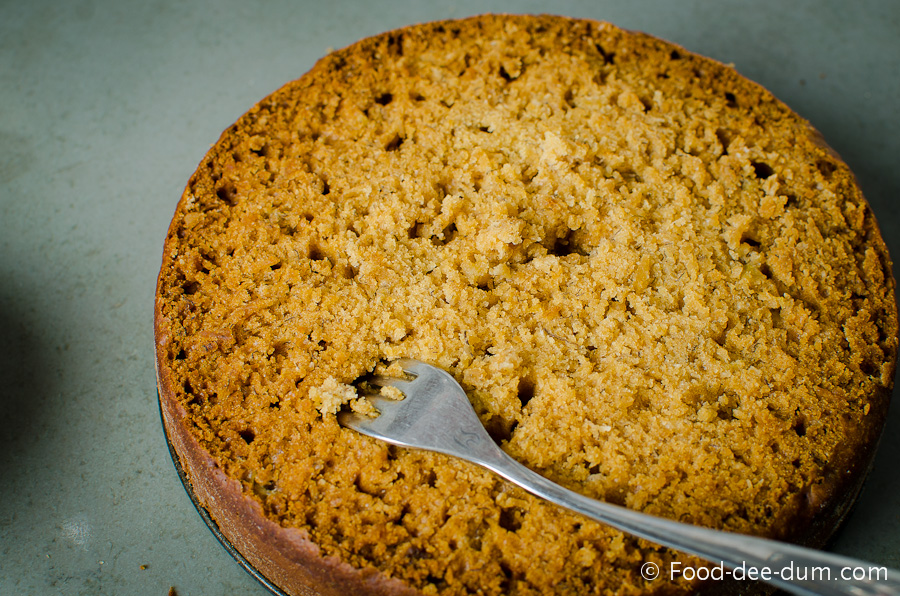
I baked it for about 3o minutes but the centre was still a bit gooey, so I reduced the temperature to about 135 C and gave it another 5-7 minutes.
When I took it out, the cake seemed to have developed this shiny hard crust on top, at least visibly. I was a little worried but it just looked like that. Tasted just fine – soft and moist.

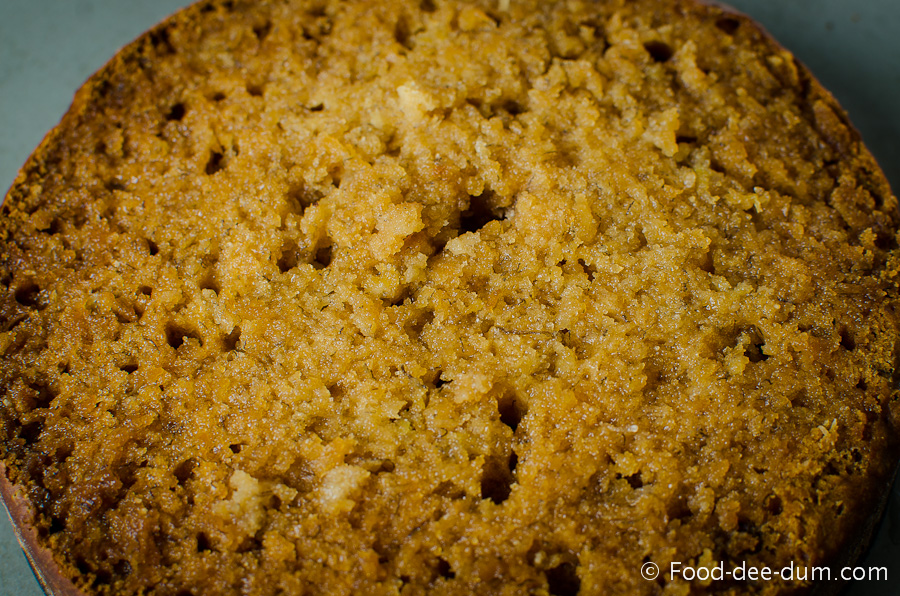
Letting the cake cool in the tin for about 10-15 minutes, I then ran a blunt knife between the cake sides and the tin to loosen it. Removing the sides, I carefully sliced off the cake’s dome (intended before I saw what the dome looked like, I promise!) to make the top level.


While the cake was cooling further, I got the syrup ready. I mixed all the ingredients and warmed them very slightly in the microwave – about 15 secs – to ensure that the sugar dissolved in the liquid.
Then I pricked the surface of the cake gently with a fork and spooned the syrup evenly on it and allowed it to soak while I go the mango topping ready.
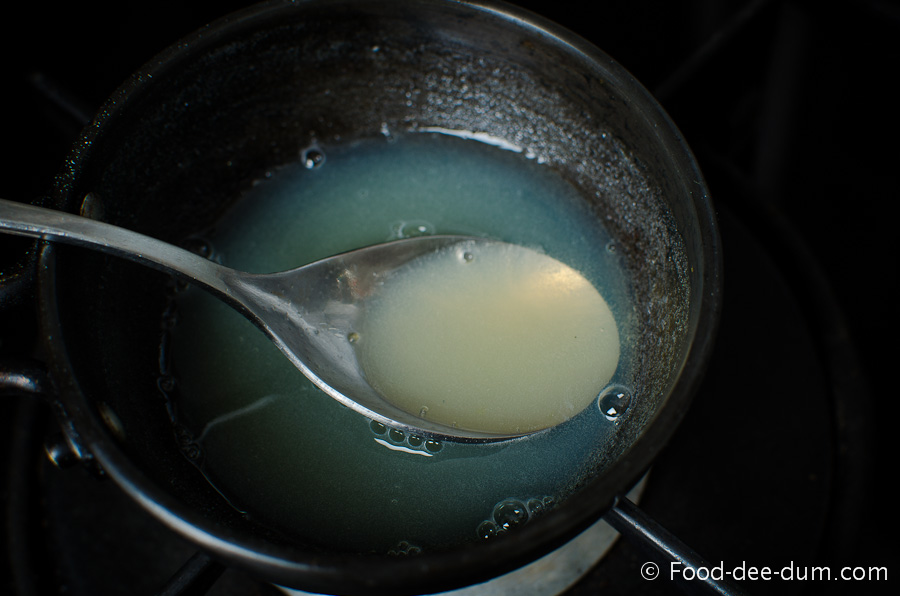
In a small pan, I placed the 1/4 cup of water and sprinkled the gelatin evenly over the surface and allowed it to soak for about 15 minutes.


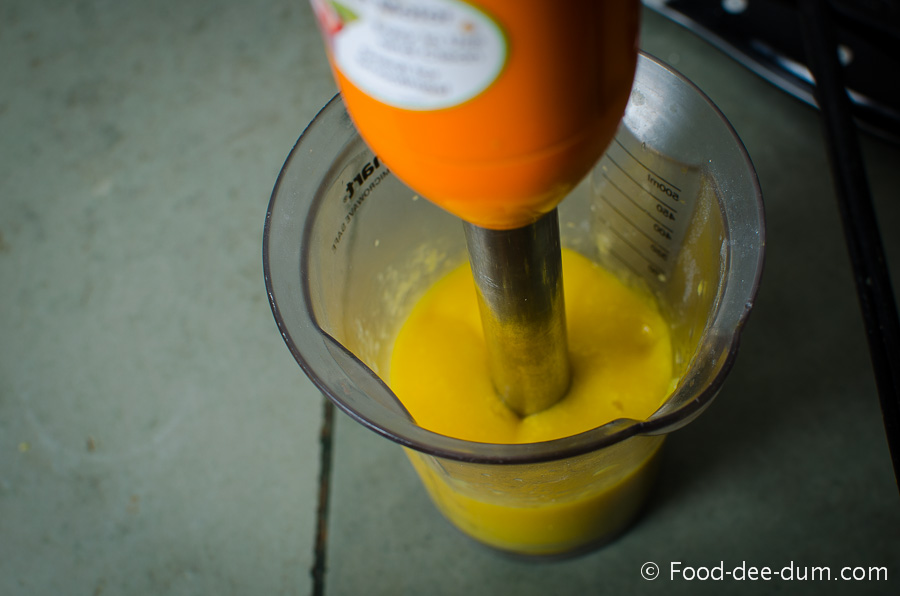
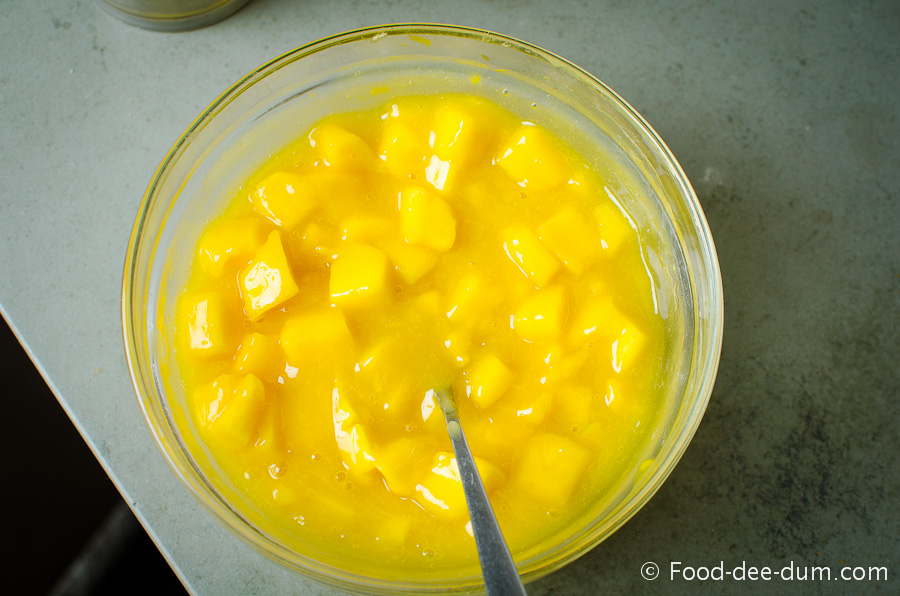
In the meanwhile, I peeled and chopped 2 of the mangoes into cubes and the 3rd in big chunks for the blender.

I blended the 3rd mango into a smooth puree with the sugar and mixed it in with the cubes. Then I washed, dried and re-greased the side of the springform cake tin and re-attached it.
When the gelatin had soaked in most of the water, I placed it on low heat and gently moved the pan around until the gelatin melted and the liquid became almost clear. I added this to the mango mixture and stirred to combine.
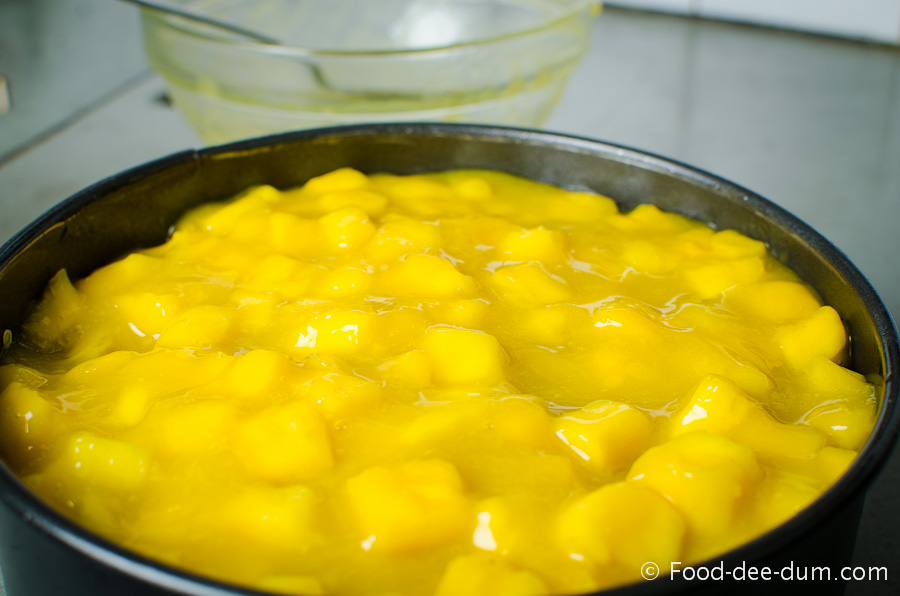
I carefully spooned this mango jelly mixture on the cake and refrigerated it for 2-3 hours, until the topping had set.
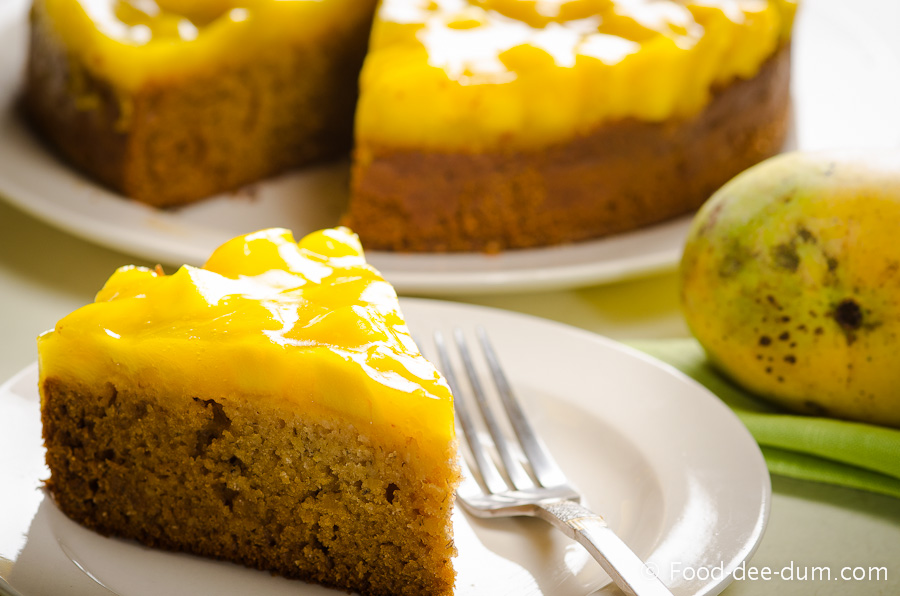
Running a damp spatula between the cake sides and the tin, I loosed the cake and removed the tin sides. Cutting the cake into wedges, I served it up by itself! No further accompaniments required!

It hit the spot and turned out to be exactly what I was looking for! A flavourful base, but mild enough to let the mangoes shine through. A soft, spongy and moist cake with a fruity topping. The reason I did this topping instead of simply decorating with pretty mango slices was because I cannot cut mangoes into pretty wedges. Also, the mango stash I had was not sweet or flavourful enough. Still beginning-of-season mangoes! But the combination of puree and chunks was well balanced and gave me the best of both worlds!
Go ahead and try it, before the onset of the monsoon kills of the mangoes!