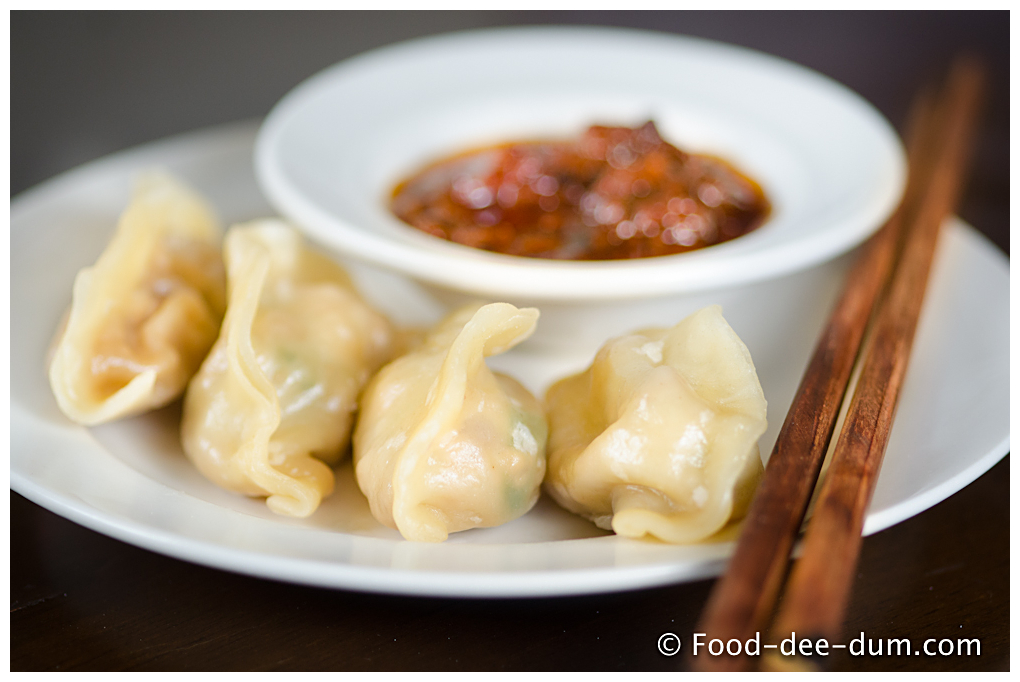
If you went to college in Delhi, there’s a distinct possibility that you OD’d on momos. And there’s an even larger possibility that you still love them. Found everywhere from large bustling markets to the infamous Dilli Haat to tiny standalone fellows (they don’t even have carts) at odd corners – these “poor man’s dumplings” which originated in Tibet and the Himalayan states of India are a hit with everybody I know.
I only say “poor man’s” because these cost around Rs. 30/- a plate for chicken and 20/- for vegetable ones at a restaurant.
Anyhow, there are many times that I still prefer these over the fancier, more delicate restaurant dimsums – simply because they qualify as street food and are more hearty and filling. When I’m feeling grubby at work in the evenings and have forgotten to pack a fruit – I often order a plate of these and I’m sorted! Definitely better than that packet of chips or a samosa!
The only time I miss restaurant dimsums is when I feel like having vegetarian, because the street momos are full of cabbage. I miss having a variety of veggies to choose from. The non-veg options are usually chicken or pork. I’m sure there are very many other meats available but I just haven’t come across them in Delhi.
The street stalls usually serve them on a paper plate with an almost viciously red sauce on the side, the contents of which I would never ever even try to fathom, for the sake of my own sanity. At Dilli Haat, they are also accompanied by a clear broth, into which you can dunk these momos and have like a dumpling soup. That’s going to be the next thing on my list – a dumpling/ wanton soup!
So I made this batch with only chicken, but I’ll also include the details for a vegetarian one that I made in the last batch.
Here’s What I used, for 25 momos:
1 cup flour/ maida
1 tbsp oil
3/4 tsp salt
Water to knead
Filling:
150 gms minced chicken
1″ piece of ginger
3 fat garlic cloves
1 small red onion
2 tbsp soy
1 tbsp oil
3 tbsp chopped coriander/ cilantro/ dhania leaves (basil would also go really well, except AK doesn’t much like it. The sacrifices I ahve to make. Sigh.)
Chilli Garlic Sauce:
2 medium tomatoes
6-8 whole dried red chillies
3 fat cloves garlic
4 tbsp oil
2 tbsp white vinegar
1/2 tsp salt
Here’s how I made them:
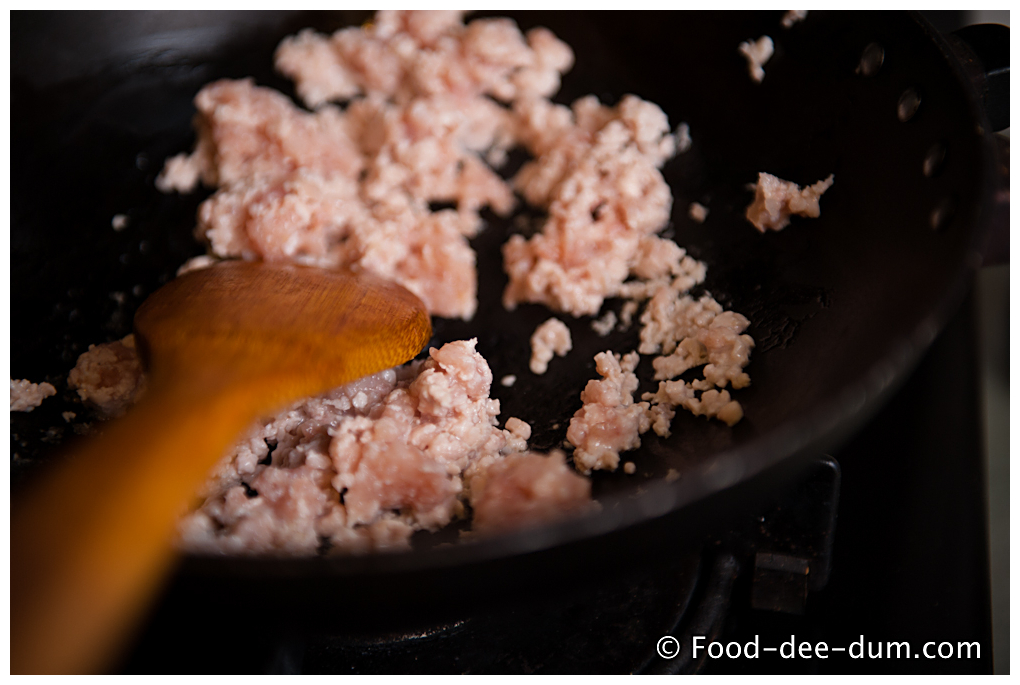
First I decided to cook the chicken halfway – because I am almost terrified of raw meats. And I thought that it helps retain the juicy-ness of the filling! So in a kadhai/ wok, I heated 1 tbsp oil and cooked the chicken for about 5 mins on medium-low heat – without a lid, stirring occasionally to avoid sticking.
While the chicken was heating up, I chopped up the onion very fine and added it to the chicken (because the onion was very pungent and I didn’t want it to overpower the other flavours!)
Even if you can get them into the pan in the last minute of cooking, it will do the trick. We don’t want to brown them, just soften the pungent smell and flavour. While this was on, I grated the ginger and garlic in the microplane – you can use a regular grater or pound in a mortal pestle, or just use paste. I generally avoid the paste because of the pre-added vinegar and salt. I like to be able to control that…
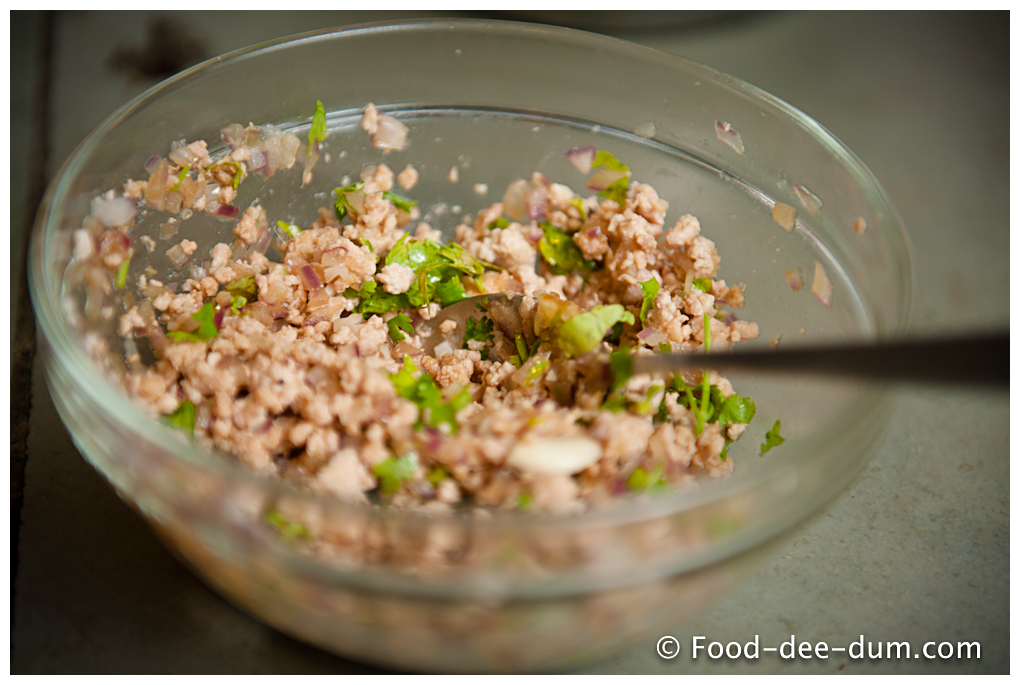
When the chicken’s 5 minutes were up, I took it off the heat and emptied it back into the bowl.
I added the soy…
And the ginger-garlic..
And the coriander leaves…
Gave it all a good stir and allowed the filling to just sit for a while, absorbing all the flavours! You can add some minced green chillies too, but I was making a VERY spicy sauce alongside and didn’t want to add any more.
Now for the dough… I put the flour and salt into a shallow, wide steel bowl.
Added the oil and stirred it in.
Added water and mixed, in gradual and small batches – just until the dough came together. It was very sticky but I decided not to add any more flour.
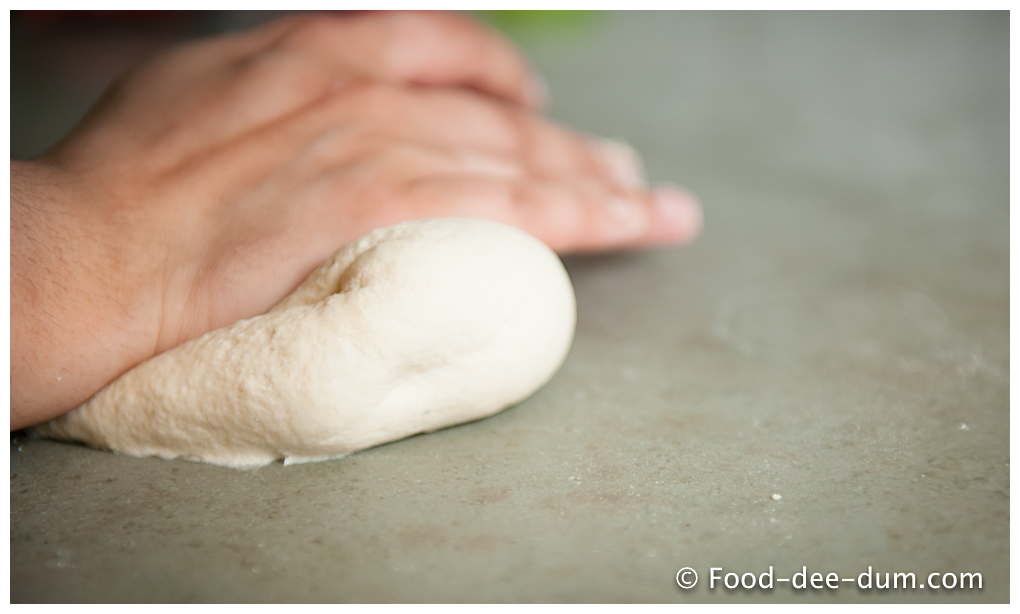
Then I put it out on the clean counter and got ready to knead. It’s my new (albeit belated) discovery, that if any dough is to perform well, it MUST be kneaded well for about 5-10 minutes – whether it’s for momos, rotis, puris, baked breads etc. Maybe not cookies, but definitely everything else!
Can you see how it’s just about holding together? It’s not smooth and soft at all, just barely hanging in there! When I told AK I was going to knead for 7-8 minutes, he got bored in anticipation and went off to get us drinks! When he turned up with these, I stopped kneading.
And this is the smooth, soft dough that I ended up with…
I put the dough back in the mixing bowl and covered it with a plate to let it rest without drying out, while I got the sauce together. At some point during the chicken, I had cut a small cross on the bottom surface of the tomatoes – just deep enough slice the skin – and dunked them into boiling water for 10 mins. They are not to be boiled – just bring water to a boil, turn off the stove and dunk the tomatoes in. After 10 mins, I lifted them out and rinsed them in cold water to stop them from cooking further.
Then I peeled away the skin (it should peel easily from the cut side in 4 sections) and mushed it into a bowl. I got out the chillies and peeled the garlic.
Heating the oil in a small saucepan, I fried the chillies and garlic them for a few minutes until the garlic had lightly browned on the outside and the chillies had darkened too. Make sure your kitchen exhaust/ chimney are on at this point or you WILL break out into a coughing fit! I removed them from heat and placed them in my mortar and poured the tomato pulp into the hot oil. Be careful because it will splatter and steam like crazy.
Keeping the heat on medium-low, I continued to cook this for 5-7 mins. This is what it looked like when the initial steam subsided.
Simultaneously, I pounded the chillies and garlic and added them back to the pan along with the vinegar and salt.
I cooked the sauce for another few minutes until it turned a deep brownish red. Removing the saucepan from heat, I emptied out the sauce into a small bowl and allowed it to cool. It may not look like a lot of sauce, but bear in mind you only need a few drops per momo, else some serious tummy trouble with ensue!
Now for the momos! Firstly, I prepped the steamer. Cleaned it and greased the baskets with the holes – keeping them ready to arrange the momos in. This is important or else the momos will stick while steaming.
There’s a bottom pan (extreme right) to hold the water. I find that about 1-2″ water goes a long way. Then there are the steaming baskets, with holes to allow steam. And there’s a lid. My steamer came with 3 baskets but I ended up using only 2. And then there’s the lid.
Then I divided the dough roughly into 3 parts.
Keeping some dry flour handy, I rolled out the first section on the floured counter using a floured rolling pin/ belan, as thin as I could manage without tearing it. Add dry flour slowly and sparingly because the more dry flour you use, the tougher the wrap will become. Can you see how stretchy and elastic the dough is? All thanks to kneading, I’m positive.
Yes I know it’s not a perfect circle. Have I mentioned that I still can’t make good, soft, fluffed up phulkas yet? Like my mom makes them? Sometimes I feel like I should abandon cooking and the blog until I can perfect those… But then I revert to cowardice and forget about it! Anyhow, I proceeded to cut them with my round cookie cutter – 2″ diametre.
Lifting one round up, I added 1 teaspoon of the chicken filling.
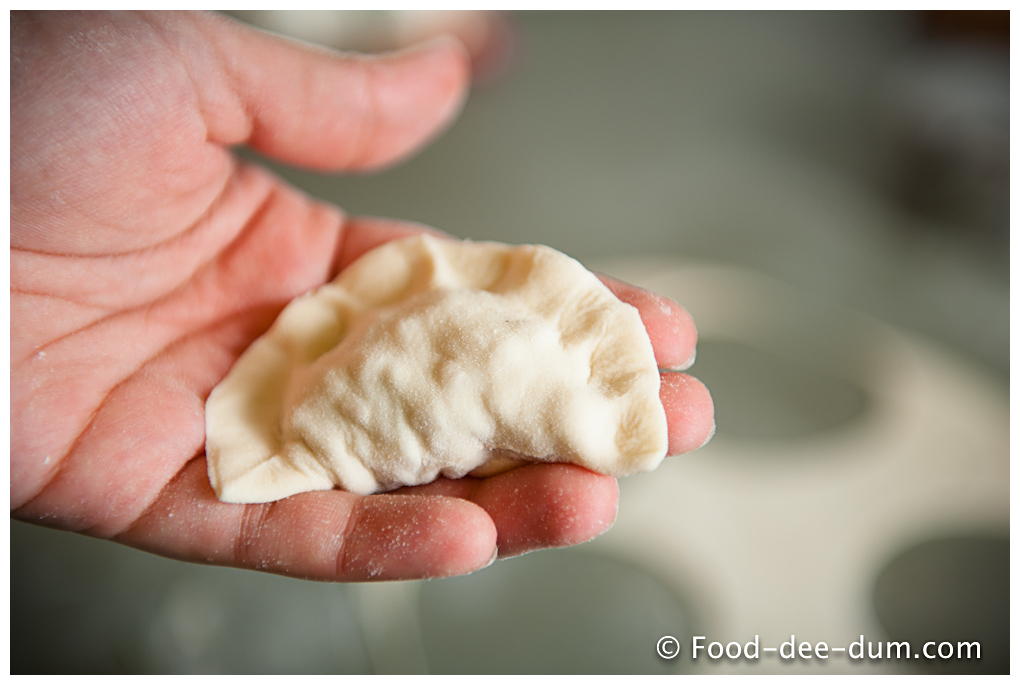
Folding them up into a semi-circle/ half moon, I sealed the edges, using a little water to wet my fingers.
I placed them one-by-one in the greased basket, trying to arrange them in such a way that they didn’t touch each other as far as possible. Then I thought they were too small, and found a steel katori/ bowl (little over 3″ diametre) to cut out the circles in the subsequent dough. They were a better size, like this:
I kept the filling amount the same though…
Can you see the 2 different sizes?
When I lifted up the remaining/ uncut dough from the counter, from each roll and cut, I put it aside instead of re-rolling right away. I collected the unused dough from each round together and re-rolled it in the end. I did this because I wanted to avoid too much re-rolling and re-flouring of the dough else it would become too thick/ tough/ chewy.
Once all the momos were arranged in the 2 baskets, I added 2 inches water to the steamer pan and set it on high heat. Once it came to a boil, I stacked the baskets over it and covered it with the lid. Turning on my phone timer for 10 minutes, I went off to chill with my drink for a few minutes!
Once the 10 minutes were done, I turned off the heat and served them with the chilli sauce and chopsticks (for the husband, I can’t use them to save my life!).
Note:
I suggest you keep them in the steamer until ready to eat. Serve them a few at a time. If they are removed from the steamer and arranged on a large serving plate, they will dry out and become chewy very quickly. I made that mistake when I made them the first time!
Vegetarian Filling Variation (for 25 momos):
3/4 cup minced broccoli/ carrots/ cauliflower (or a combination of any 2)
2 tbsp toasted sesame seeds or 4 tbsp blanched, peeled, chopped and toasted alomonds
2 tbsp soy
1″ piece of ginger finely grated/ minced
Mix it all up and use as above. This actually makes a little more than required but I like to eat what’s left straight out the bowl! So it works for me!


