Everything you need to know about photography equipment to run a food blog
Being a food blogger, I’ve had to spend a lot of time learning photography. Of course, being married to a professional photographer helped immensely – so much so that I’m also a partner in our photography business and carry my own weight when we’re on photoshoots together! Today, with so much emphasis on good quality photos – it’s very important for food bloggers to get over their fear of the camera and start experimenting with photography and being able to create pretty photos of food. Since many of you have asked how much I get to poach from AK’s professional photography stash, here’s a list of the gear I use when I’m shooting for the blog. Some of this is stolen from the studio (and the photos are from the studio) – but most of this is MINE, and is used exclusively for the blog.
So in no particular order, here are a some of things I use:
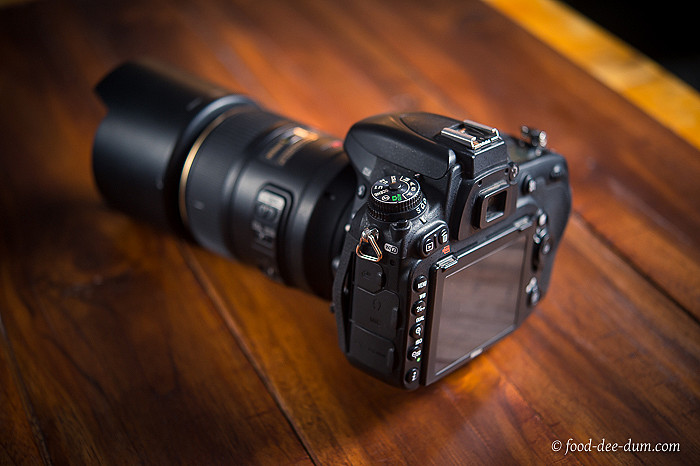
A Nikon D750

I’m a little spoilt – I admit. The Nikon D750 is a full frame camera, extremely light and versatile – and can do so much more than just shoot food photos. I personally love the D750 because of how the screen tilts up while shooting from weird angles – and the fact that it packs the same punch that bigger and more expensive cameras do. And, have I mentioned that while it does all that, it’s also really light and handy? Like I’ve mentioned in previous posts on photography, it isn’t strictly necessary to have a DSLR to take food photos – but if you’re looking to serious learn the nuances of photography and take things to another level, this really helps.
A macro lens
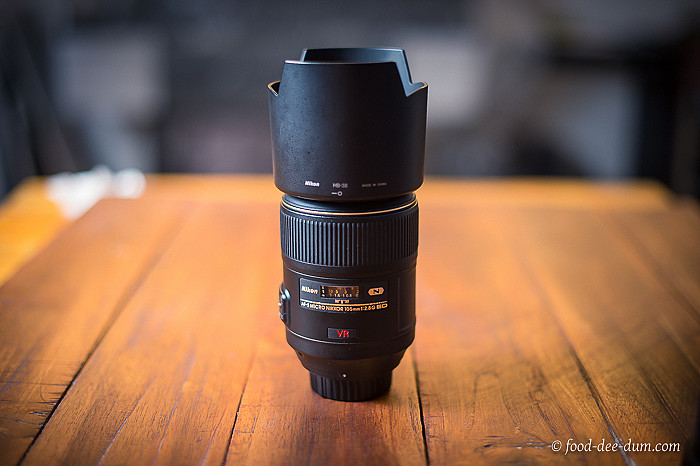
This is one of those things that both AK and I fight over ownership (lets just say that it’s “ours”). A macro lens is something that helps you get really close to your subject (have you ever noticed that sometimes you can’t focus closer than a certain point?). Macro lenses come in various focal length, and this one is a Nikon 105mm fixed focal length lens thats my personal favourite. The 105mm is a not-too-far yet not-too-wide type of focal length that makes food look just right. For times when I don’t want to get that close (or even if I want to show a bunch of things) I prefer to go a little wider, and for that – this little baby works great:
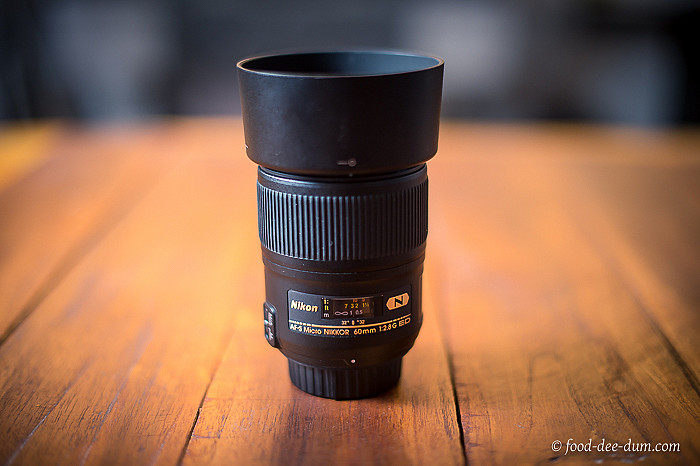
This is a Nikon 60mm macro lens – does everything the first lens does, but with a slightly wider angle. The wider angle helps when I’m trying to show a bunch of things going on – lets say, something is on the stove and there’s something else happening next to it. Or if there are a while bunch of ingredients for which the 105mm is just too tight…and so on.
A table to put everything on
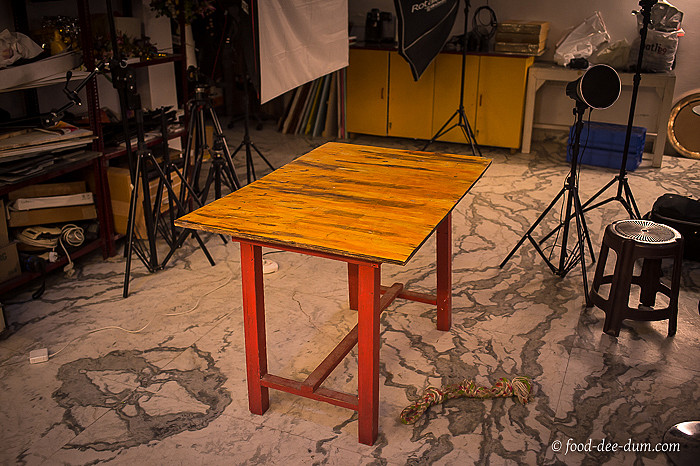
This may seem like a given – but whenever I try and take final photos of a dish in the kitchen (or anywhere near it) – things don’t turn out that great. A dedicated shooting table with access from all sides makes a HUGE difference. It doesn’t need to be anything fancy – in fact, this is a table that AK made himself (he went through a woodworking phase, and bought a lot of tools – and this table is probably the only thing that ever got made). This table is currently in the studio, which is why you see a lot of photography gear lying about, but don’t worry – that’s all AK’s and doesn’t have much to do with this blog. If you don’t have a spare table in a quiet spot, I suggest you convert your dining table or a coffee table into a makeshift shoot table. The dining table may be more ergonomically suited, specially if you want to take front/diagonal shots. For top-shots, you may want to use something lower.
Fun surfaces
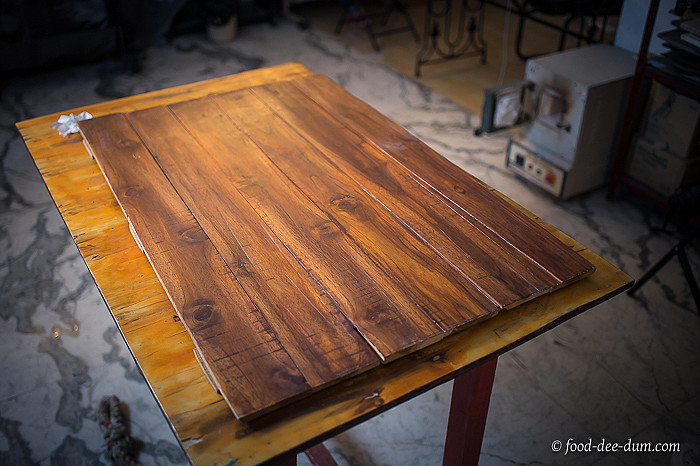
Okay, now we’re getting into AK’s territory. This is a teak shooting board that AK made (yes he did!). It’s nothing but a bunch of teak boards nailed together which he rubbed and rubbed (or was it sanded and sanded?) that now makes a great surface to shoot on. We sourced, made and commissioned loads of rustic shooting surfaces for the studio that I borrow for the blog from time to time – this is definitely one of the perks of working in a photo studio! You too can easily rescue nice weathered boards from a construction site near you or commission a carpenter to make “vintage” and “rustic” boards for you! Or, even better, DIY and make them yourself.
Off-camera lights
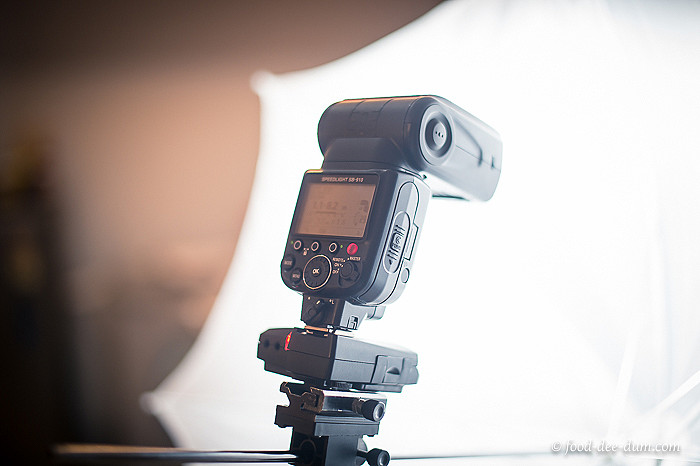
I know that most people prefer to shoot in natural light, near a window. But that often doesn’t work with my schedule. I don’t always have time when there’s nice light to shoot a final photo. And I definitely don’t have nice light in my little kitchen. So I use off-camera light, whenever required.
And okay, lights are probably the one place where we’re really spoilt. Being a photo studio, AK has all types of professional and heavy-duty lights. However, for the purposes of the blog – I prefer to use regular speedlights (like the one you see in this photo). Speedlights are battery powered flashes that are easy to lug about, don’t require any wires connected to them and can be stuck in very awkward corners and you don’t hear them complaining). I lug them upstairs to my kitchen and back down to the studio in a jiffy. These lights are great for adding fill light when you don’t have enough or nice light. Which is almost always the case for me! The flash in this photo is a Nikon SB910 that is sitting on top of a PocketWizard flash receiver (the little thing that tells the flash when to fire). We have PocketWizards because we use them at weddings and need high-speed sync at that point. But you can easily use other, more economical, triggers like Yuongno, Cactus or something similar – make sure you buy the one compatible with your camera manufacturer. They make variants for Nikon & Canon.
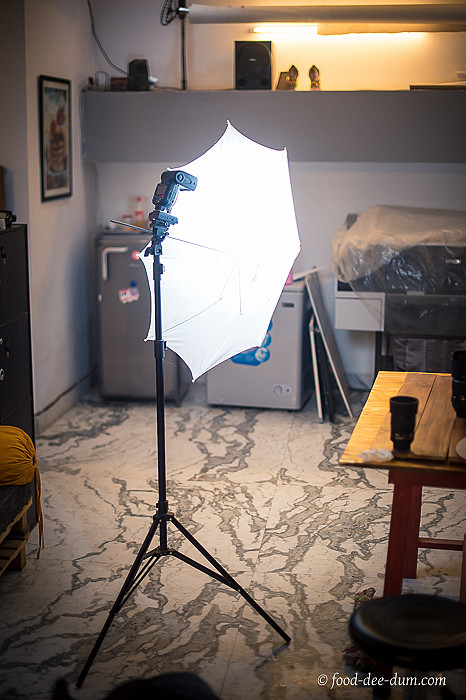
These speedlights can either be left to stand on the counter by themselves (they come with a little horseshoe-like stand that they can sit on) or can be latched on to a light-stand. A light-stand is a cheap 3-footed stand which can be used for virtually anything. I put an umbrella in front of the flash on the lightstand to diffuse the light a little bit to make it softer. Here’s a photo of the flash stuck on a lightstand firing through a shoot-through umbrella. This is the setup I just used to take photos of the camera and lenses for this post.
Cake-base reflectors
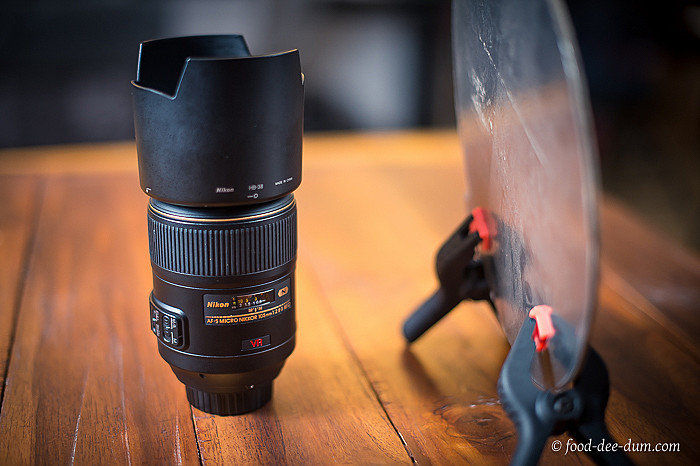
So. Do you know what makes great reflectors? Well, the title sort of gives it away, but cake-bases! They come in two colours (silver and gold) and they reflect a nice soft patch of light that works great for filling in shadows. I usually make them stand by using two clamps on either side which help it prop up quite comfortably. I usually have tons of these lying about, but AK has stolen a few that he now uses only for photography. I’ve made him keep them aside – god knows where they’ve been, and I’d hate for a cake to sit on them someday. Here’s a photo of what I mean:
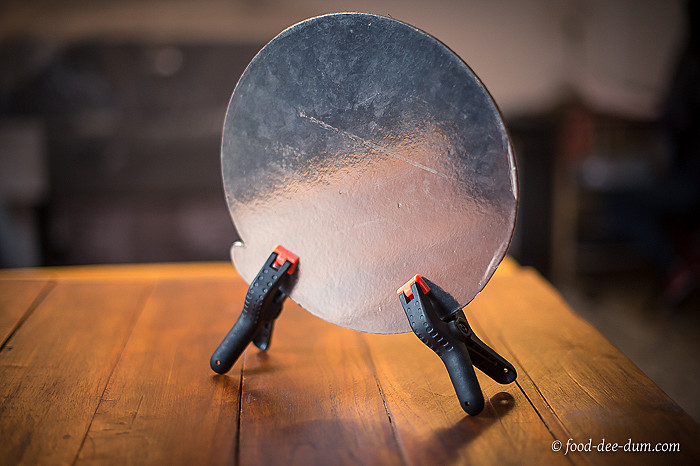
Here’s a photo of the reflector positioned next to a lens. Note how it’s nicely reflecting light onto the right side of the lens which would have otherwise been dark and black-ish had the reflector not been there! Alternatively, you can even use pieces of white foam-board or sun-board which can be found in a stationary store.
A Tripod
Okay, this is AK’s. One of the things that he loves to do is “construct” a photo. He starts with just the subject (the thing we’re trying to shoot) and gradually adds things in and around it. When you follow this approach, the thing is that you need to keep the camera in the same spot and make sure your frame remains constant. And the only way to do that is to use a tripod. Here’s a photo of the tripod we use:
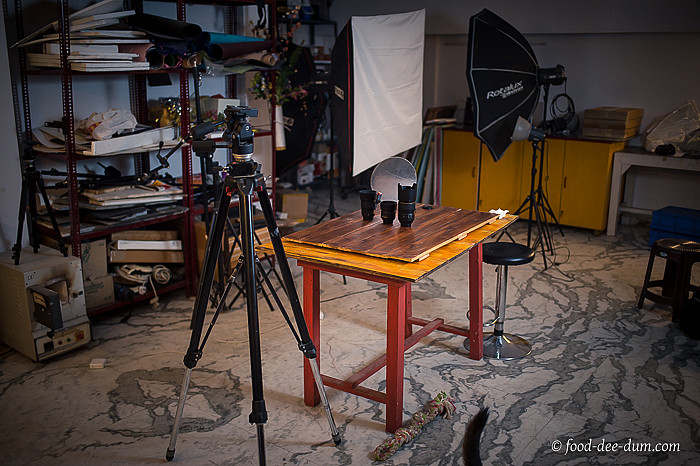
This is the cleverly named Manfrotto Super Professional Mk2 Tripod – which weighs a ton and costs a bomb. You do not need such a fancy tripod for food photos for the blog – it’s just something we already have and use when needed. Keeping the camera on the tripod helps keep the frame constant, and it’s easy to keep adding or removing elements in the shot while keeping the subject in the same place. If you’re looking for tripod advice, look for something light and sturdy. This and this are great tripods to consider.
And that’s pretty much it! We use a lot more goodies for the professional food photography business we run, but for blog photos – this is all you need! Have fun – and if you have any questions, ask away below!
Please note that this post has affiliate links and if you buy products using these links, it will help support the blog. I will only recommend products that I personally use and/or trust for my family.